Create a blog with Gatsby and WordPress
The use of WordPress as a Headless CMS can be a very good solution when it comes to performance, optimization or even in terms of maintenance and evolution of a website. We will see today how to use the WordPress API with the static site generator GatsbyJS and the React.js framework. All these elements together constitute what is called a Jamstack.
What is a static site?
A static site, as its name implies, is a site that contains static pages. That is to say that after the deployment the content does not change whatever the visitor is. Contrary to dynamic sites it does not require any backend programming language except of course for the development of our api which is the source of our data and it’s a thing apart. To meet this need many static site generators exist: Jekyll, Hugo, Hexo, Gatsby,… And to have tested them I really liked to develop on Gatsby.
What is Gatsby?
Gatsby is a static site generator or according to its creators a blazing-fast static site generator for React. It allows you to quickly create a site under React. It is therefore perfect for showcase sites, portfolios, blog, …
As Gatsby is based on React with a PRPL architecture, all static pages are generated and not reloaded, which provides an exceptional loading speed.

How does it work?
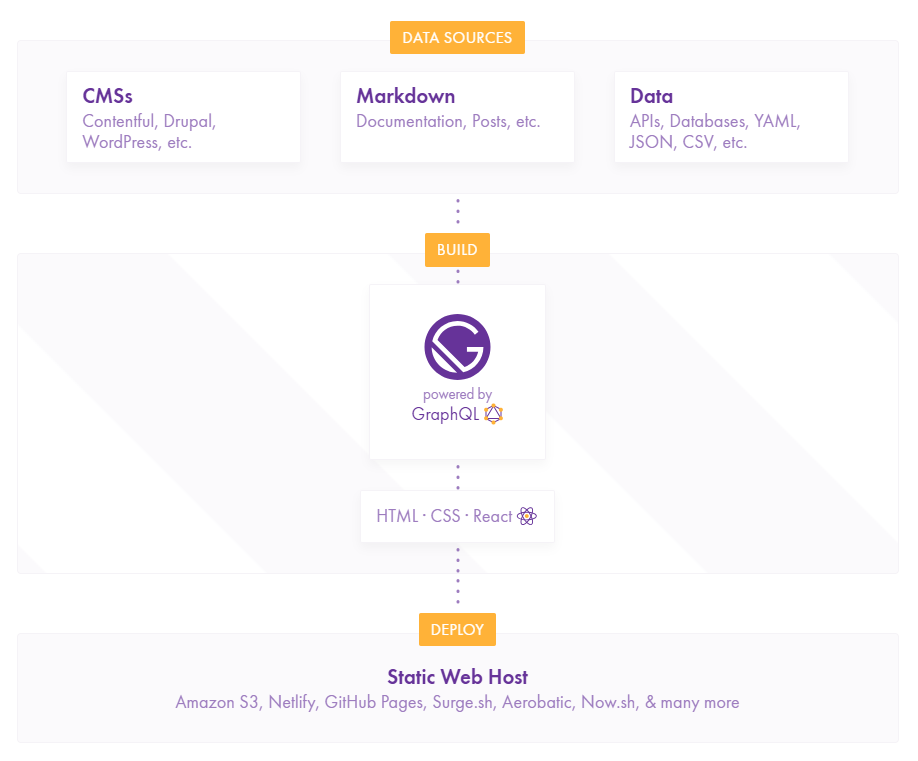
Static pages can be sourced from a huge variety of data (Markdowns, CMS, APIs…), translated into GraphQL, and then requested to produce a collection of pages generated at build time.
Gatsby offers a lot of plugins to vary the data sources and make our site/project very scalable:
- gatsby-source-wordpress
- gatsby-source-medium
- gatsby-source-drupal
- gatsby-source-strapi
- gatsby-source-contentful
Setting up the API
In this post we will take the WordPress API as an example as a data source. To do this I invite you to read my article Using the WordPress REST API.
Creation of the project with Gatsby
Now that our API is in place we move on to the development of our site.
To be able to create a Gatsby project, you must first have Node installed and Gatsby CLI as a whole.
Gatsby installation
npm install -g gatsby-cli
Project creation
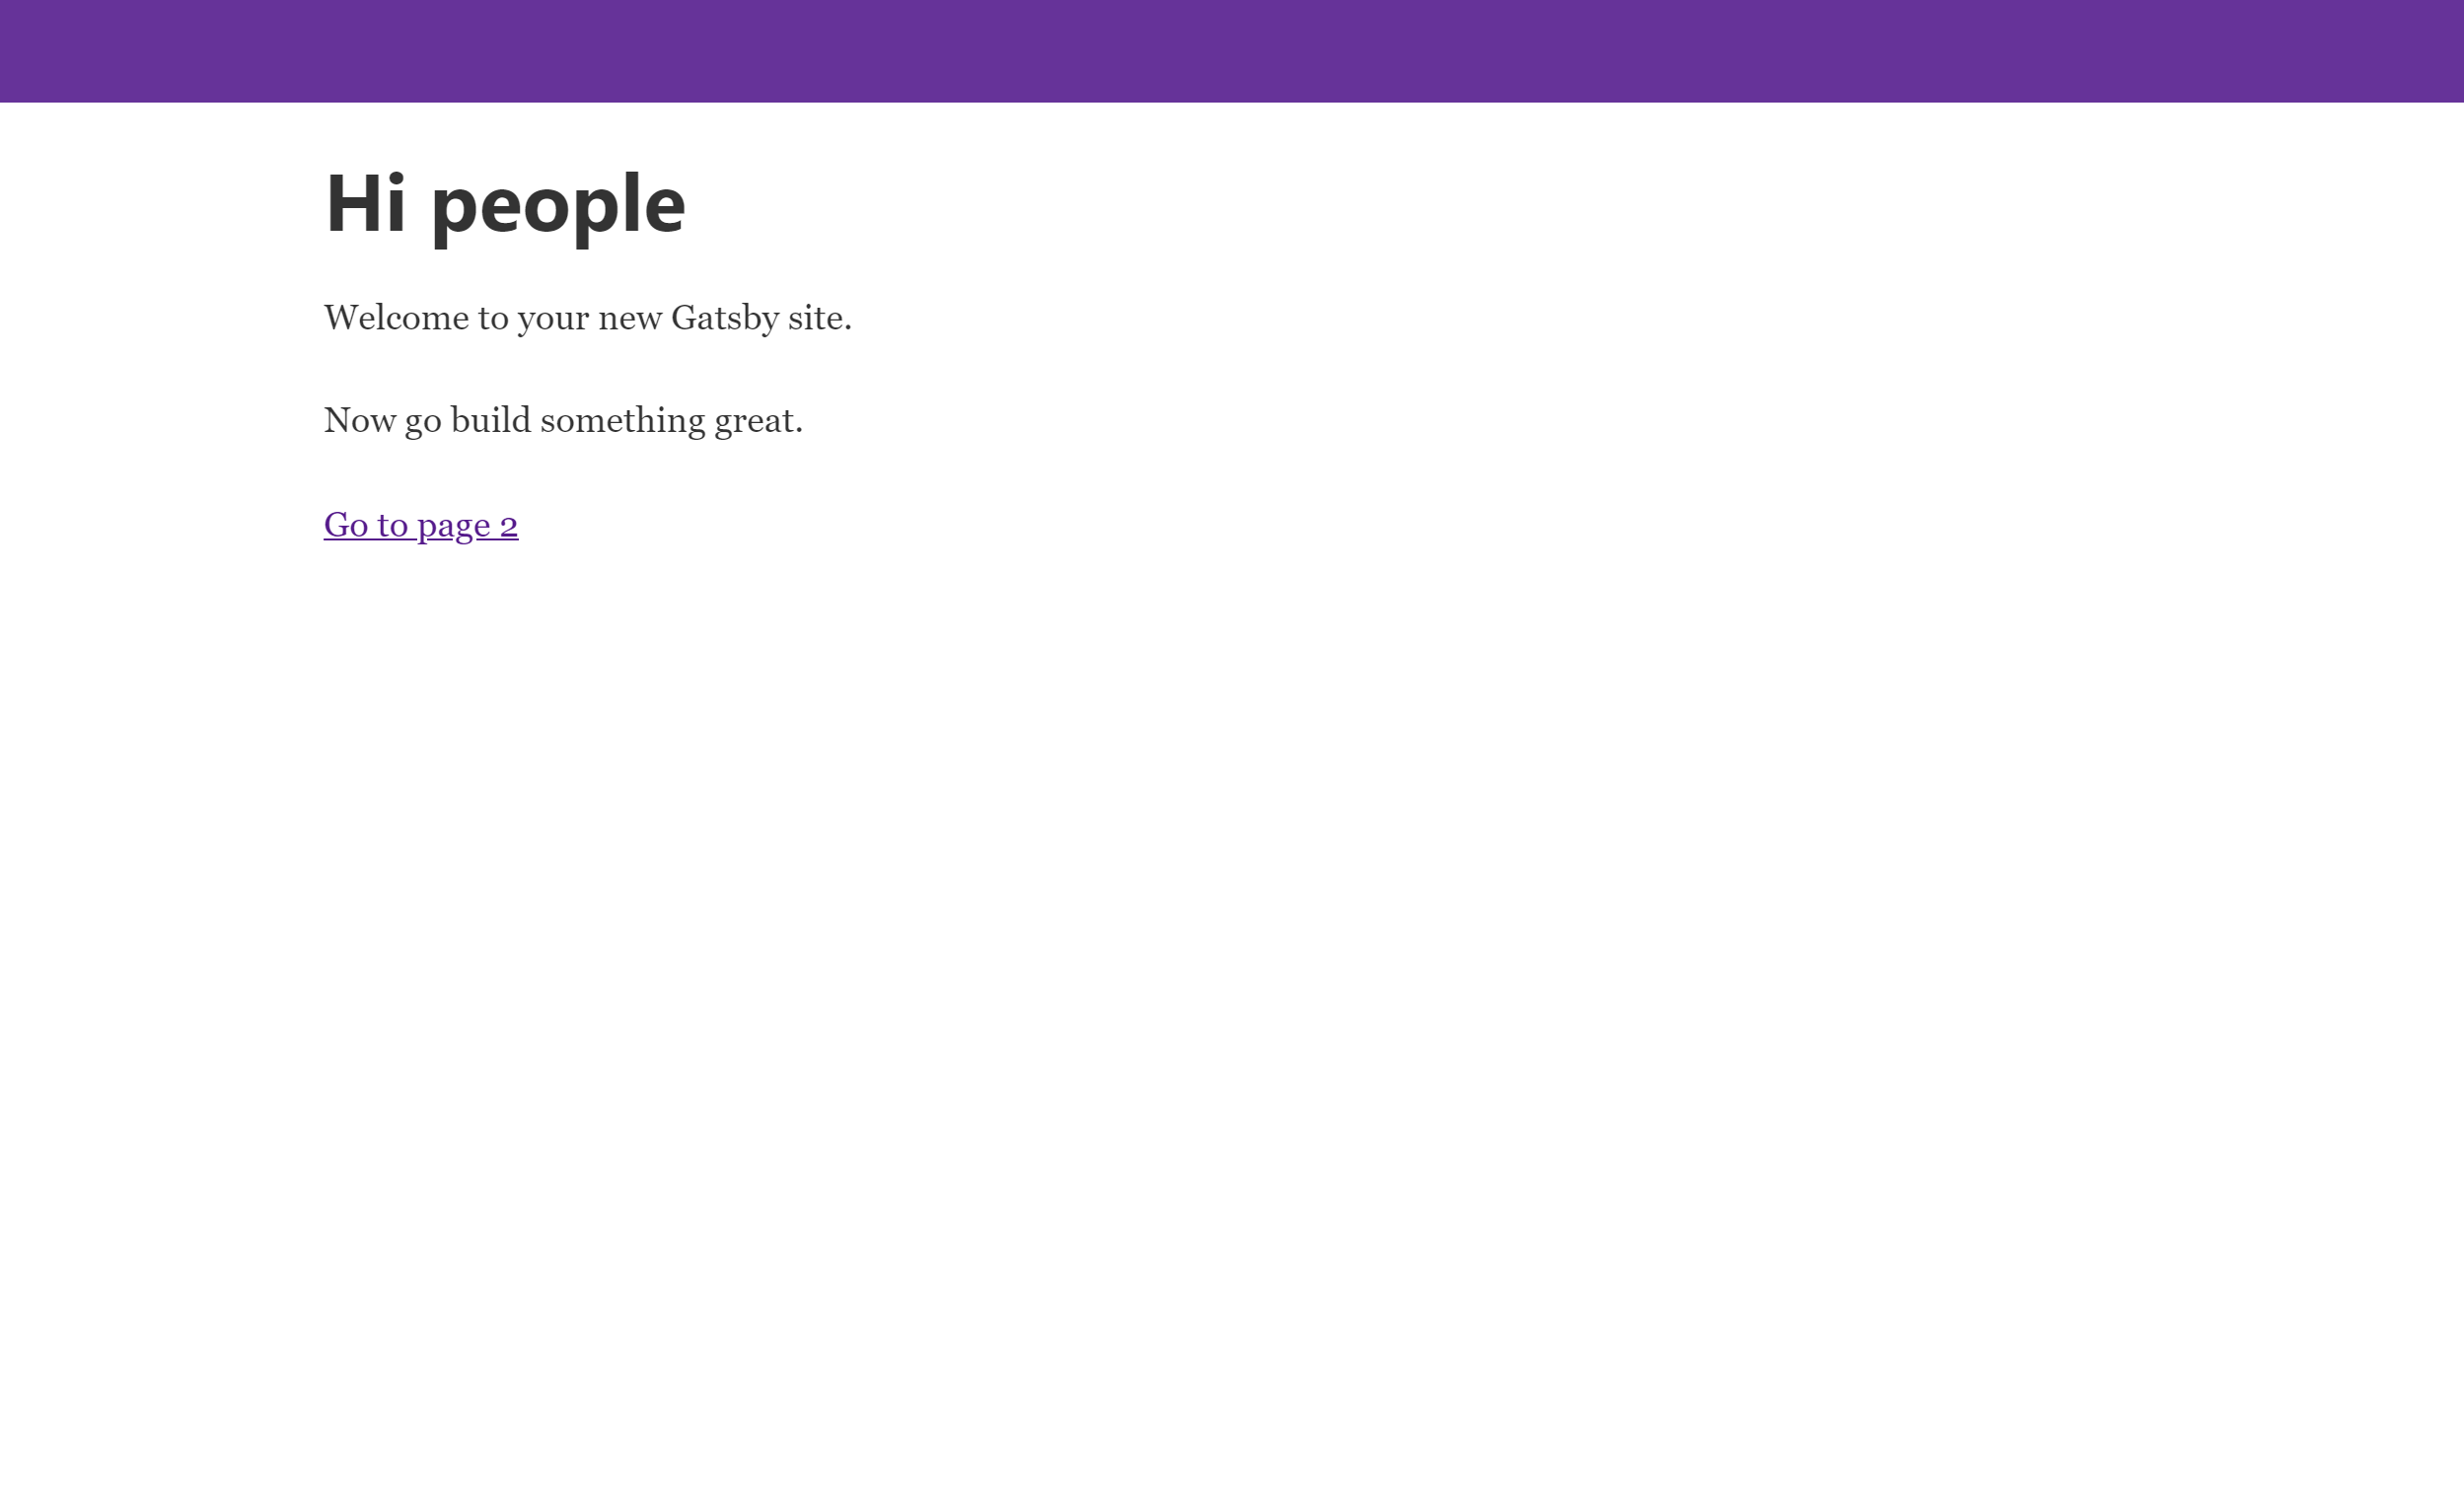
Now we generate the project with the command gatsby new:
gastby new gatsby-personal-blog
Starting the server
cd gatsby-personal-blog

gatsby-develop
Installation of the WordPress source plugin
gatsby-source-wordpress is a plugin to retrieve data from the WordPress API using its data abstraction layer with GraphQL.
Plugin installation
npm i gatsby-source-wordpress
To make it work, the plugin must be configured in the gatsby-config.js file.
module.exports = {
  siteMetadata: {
      title: "Gatsby default starter"
  },
  plugins: [
    "gatsby-plugin-react-helmet",
    "gatsby-plugin-sass",
    {
      resolve: "gatsby-source-wordpress",
      options: {
        baseUrl: "abdessalam.dev",
        hostingWPCOM: false,
        protocol: "https",
        useACF: false,
        verboseOutput: true
      },
    },
  ],
}
Don’t forget to restart the server for the changes to take effect.
Articles page
On the homepage, we will make sure to display the articles. The list of js files related to the pages can be found in src/pages/ and the page in question is src/pages/index.js. To test which fields are available to retrieve nothing simpler than using GraphiQL, a GraphQL IDE to test and generate our GraphQL queries is available at this address http://localhost:8000/__graphql at server startup.
import React, { Component } from "react"
import PropTypes from "prop-types"
import Link from "gatsby-link"
import Helmet from "react-helmet"


class IndexPage extends Component {
  render() {
      const allPosts = this.props.data.allWordpressPost.edges
      return(
          <div>
            {allPosts.map(({node}) =>
                <div key={node.slug}>
                    <Link to={node.slug}>
                        <h3>{node.title}</h3>
                    </Link>
                </div>
                <div dangerouslySetInnerHTML={{__html: node.excerpt}}></div>
                <span>{node.date}</span>
            )}
          </div>
      )
  }
}

export default IndexPage

export const pageQuery = graphql`
    query IndexPageQuery {
        allWordpressPost {
            edges {
                node {
                    id
                    slug
                    title
                    content
                    excerpt
                    date
                    modified
                }
            }
        }
    }
`
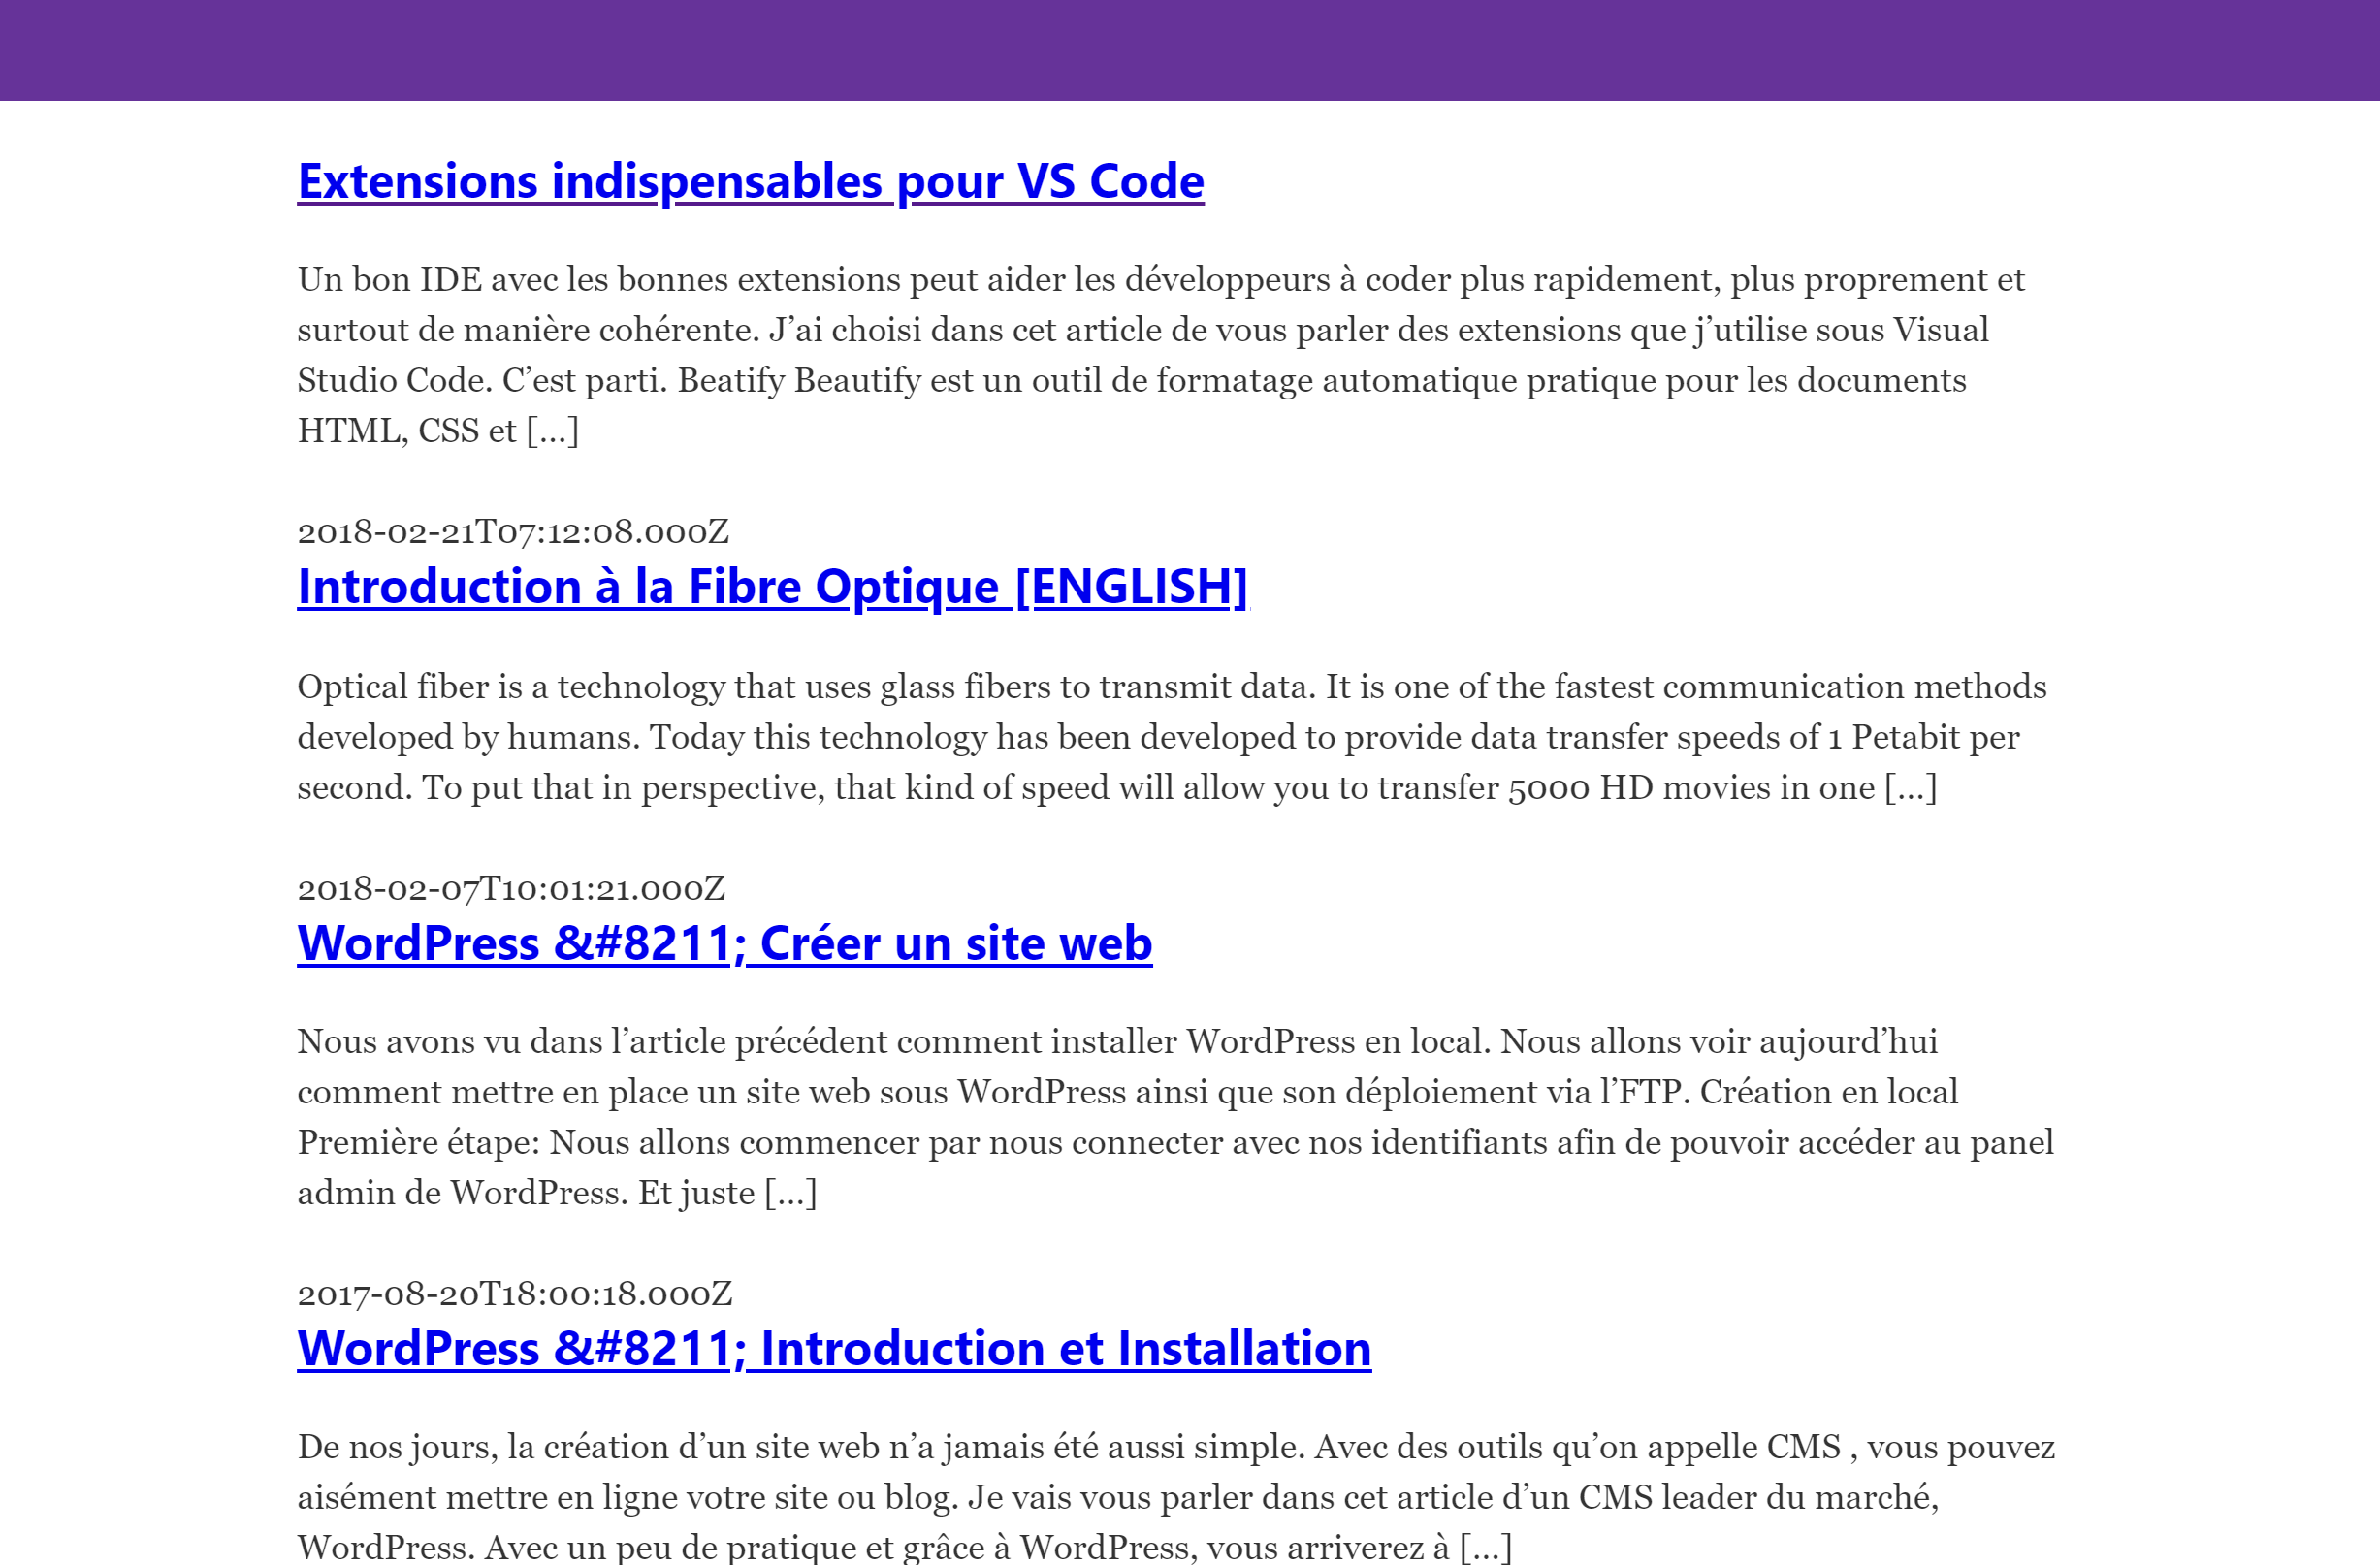
Exporting the pageQuery, a GraphQL query allows you to retrieve the entire list of items with the given fields in JSON format. The returned data is put into allPosts variable which can be looped through with map() to display the items one by one.
Here is the result:
Post page
For now we manage to display the list of all the posts, it’s good but we can do better. For example the display of only one post.
const _ = require("lodash")
const Promise = require("bluebird")
const path = require("path")
const slash = require("slash")
const postsQuery = `
{
  allWordpressPost {
    edges {
      node {
        id
        slug
        title
        content
        excerpt
        date
        modified
      }
    }
  }
}
`

exports.createPages = ({ graphql, actions }) => {
  const { createPage } = actions

  return new Promise((resolve, reject) => {
    graphql(postsQuery)
      .then(result => {
        if (result.errors) {
          reject(result.errors)
        }
        const postTemplate = path.resolve("./src/templates/post.js")
        _.each(result.data.allWordpressPost.edges, (edge, index) => {
          const next =
            index === 0
              ? null
              : result.data.allWordpressPost.edges[index - 1].node
          const prev =
            index === result.data.allWordpressPost.edges.length - 1
              ? null
              : result.data.allWordpressPost.edges[index + 1].node
          createPage({
            path: `/${edge.node.slug}/`,
            component: slash(postTemplate),
            context: {
              id: edge.node.id,
              prev,
              next,
            },
          })
        })
      })
  })
}
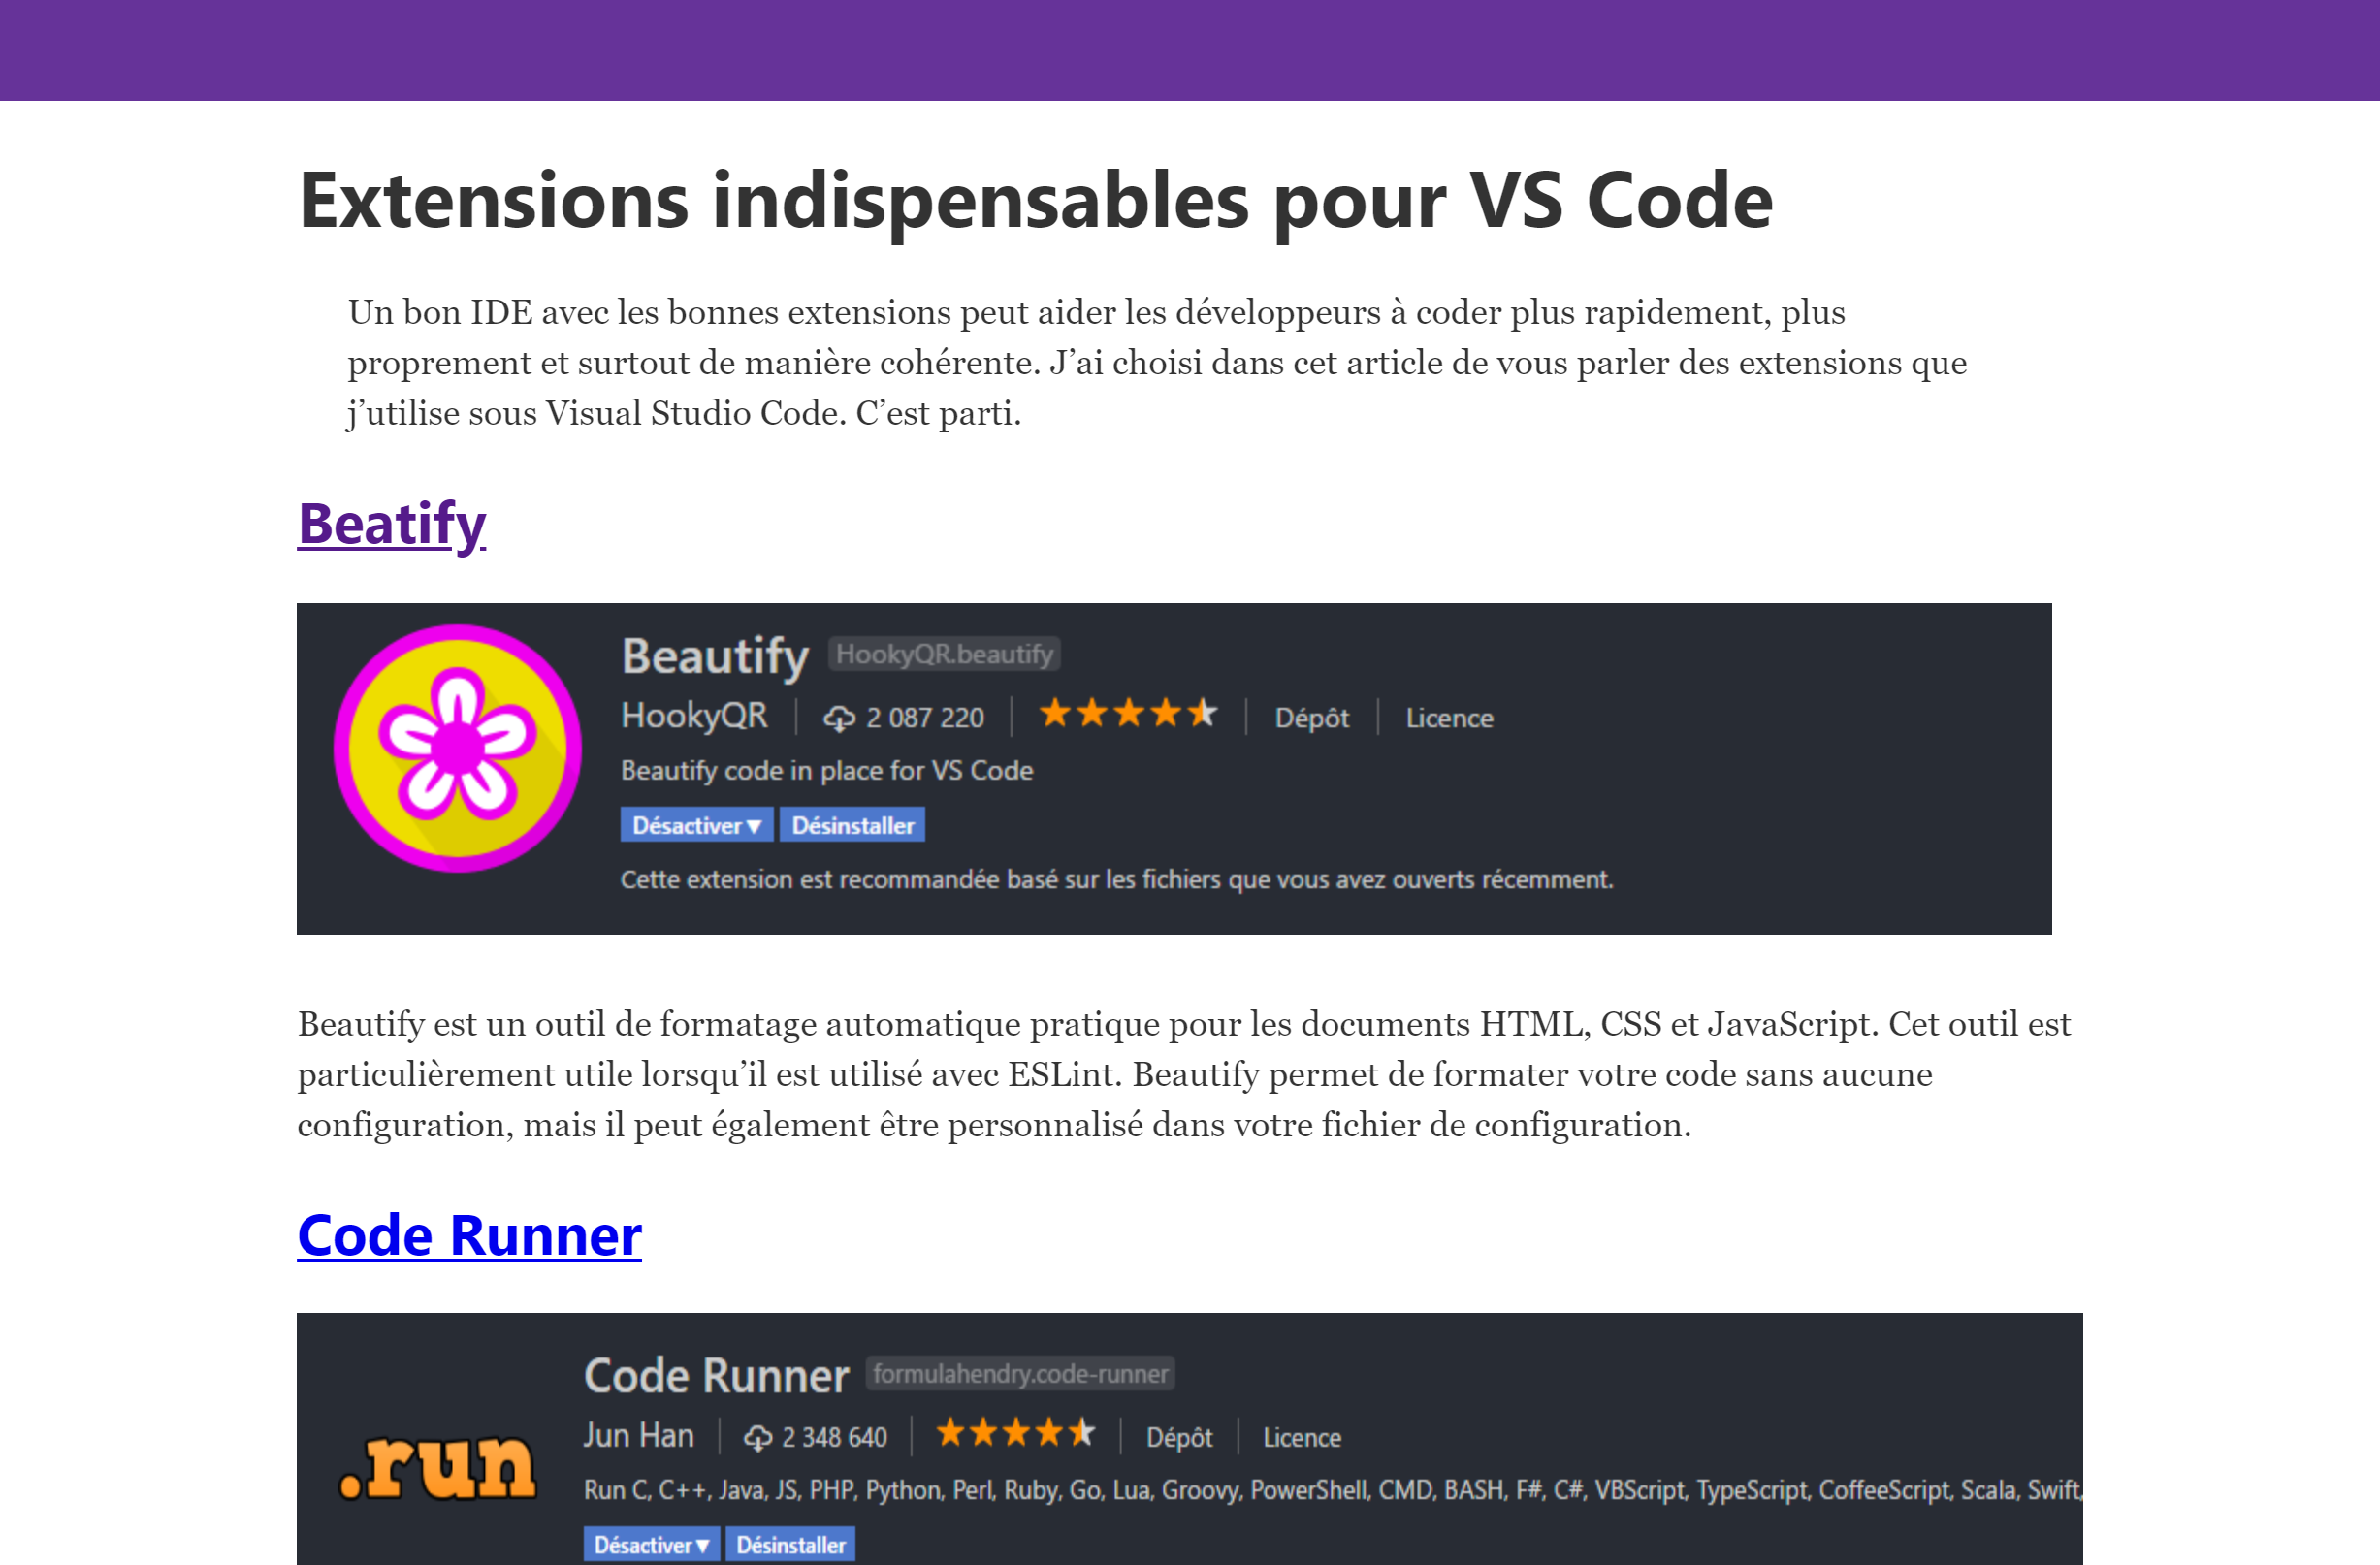
Here is the result:
You can very well go further by retrieving the authors, the tags, … and the steps to follow remain the same.
Before you leave…
Thanks for reading! 😊