Deploy Gatsby to Netlify
We saw on a previous post how to set up a blog with Gatsby and the WordPress API. We will see in this post how to deploy our project to Netlify.
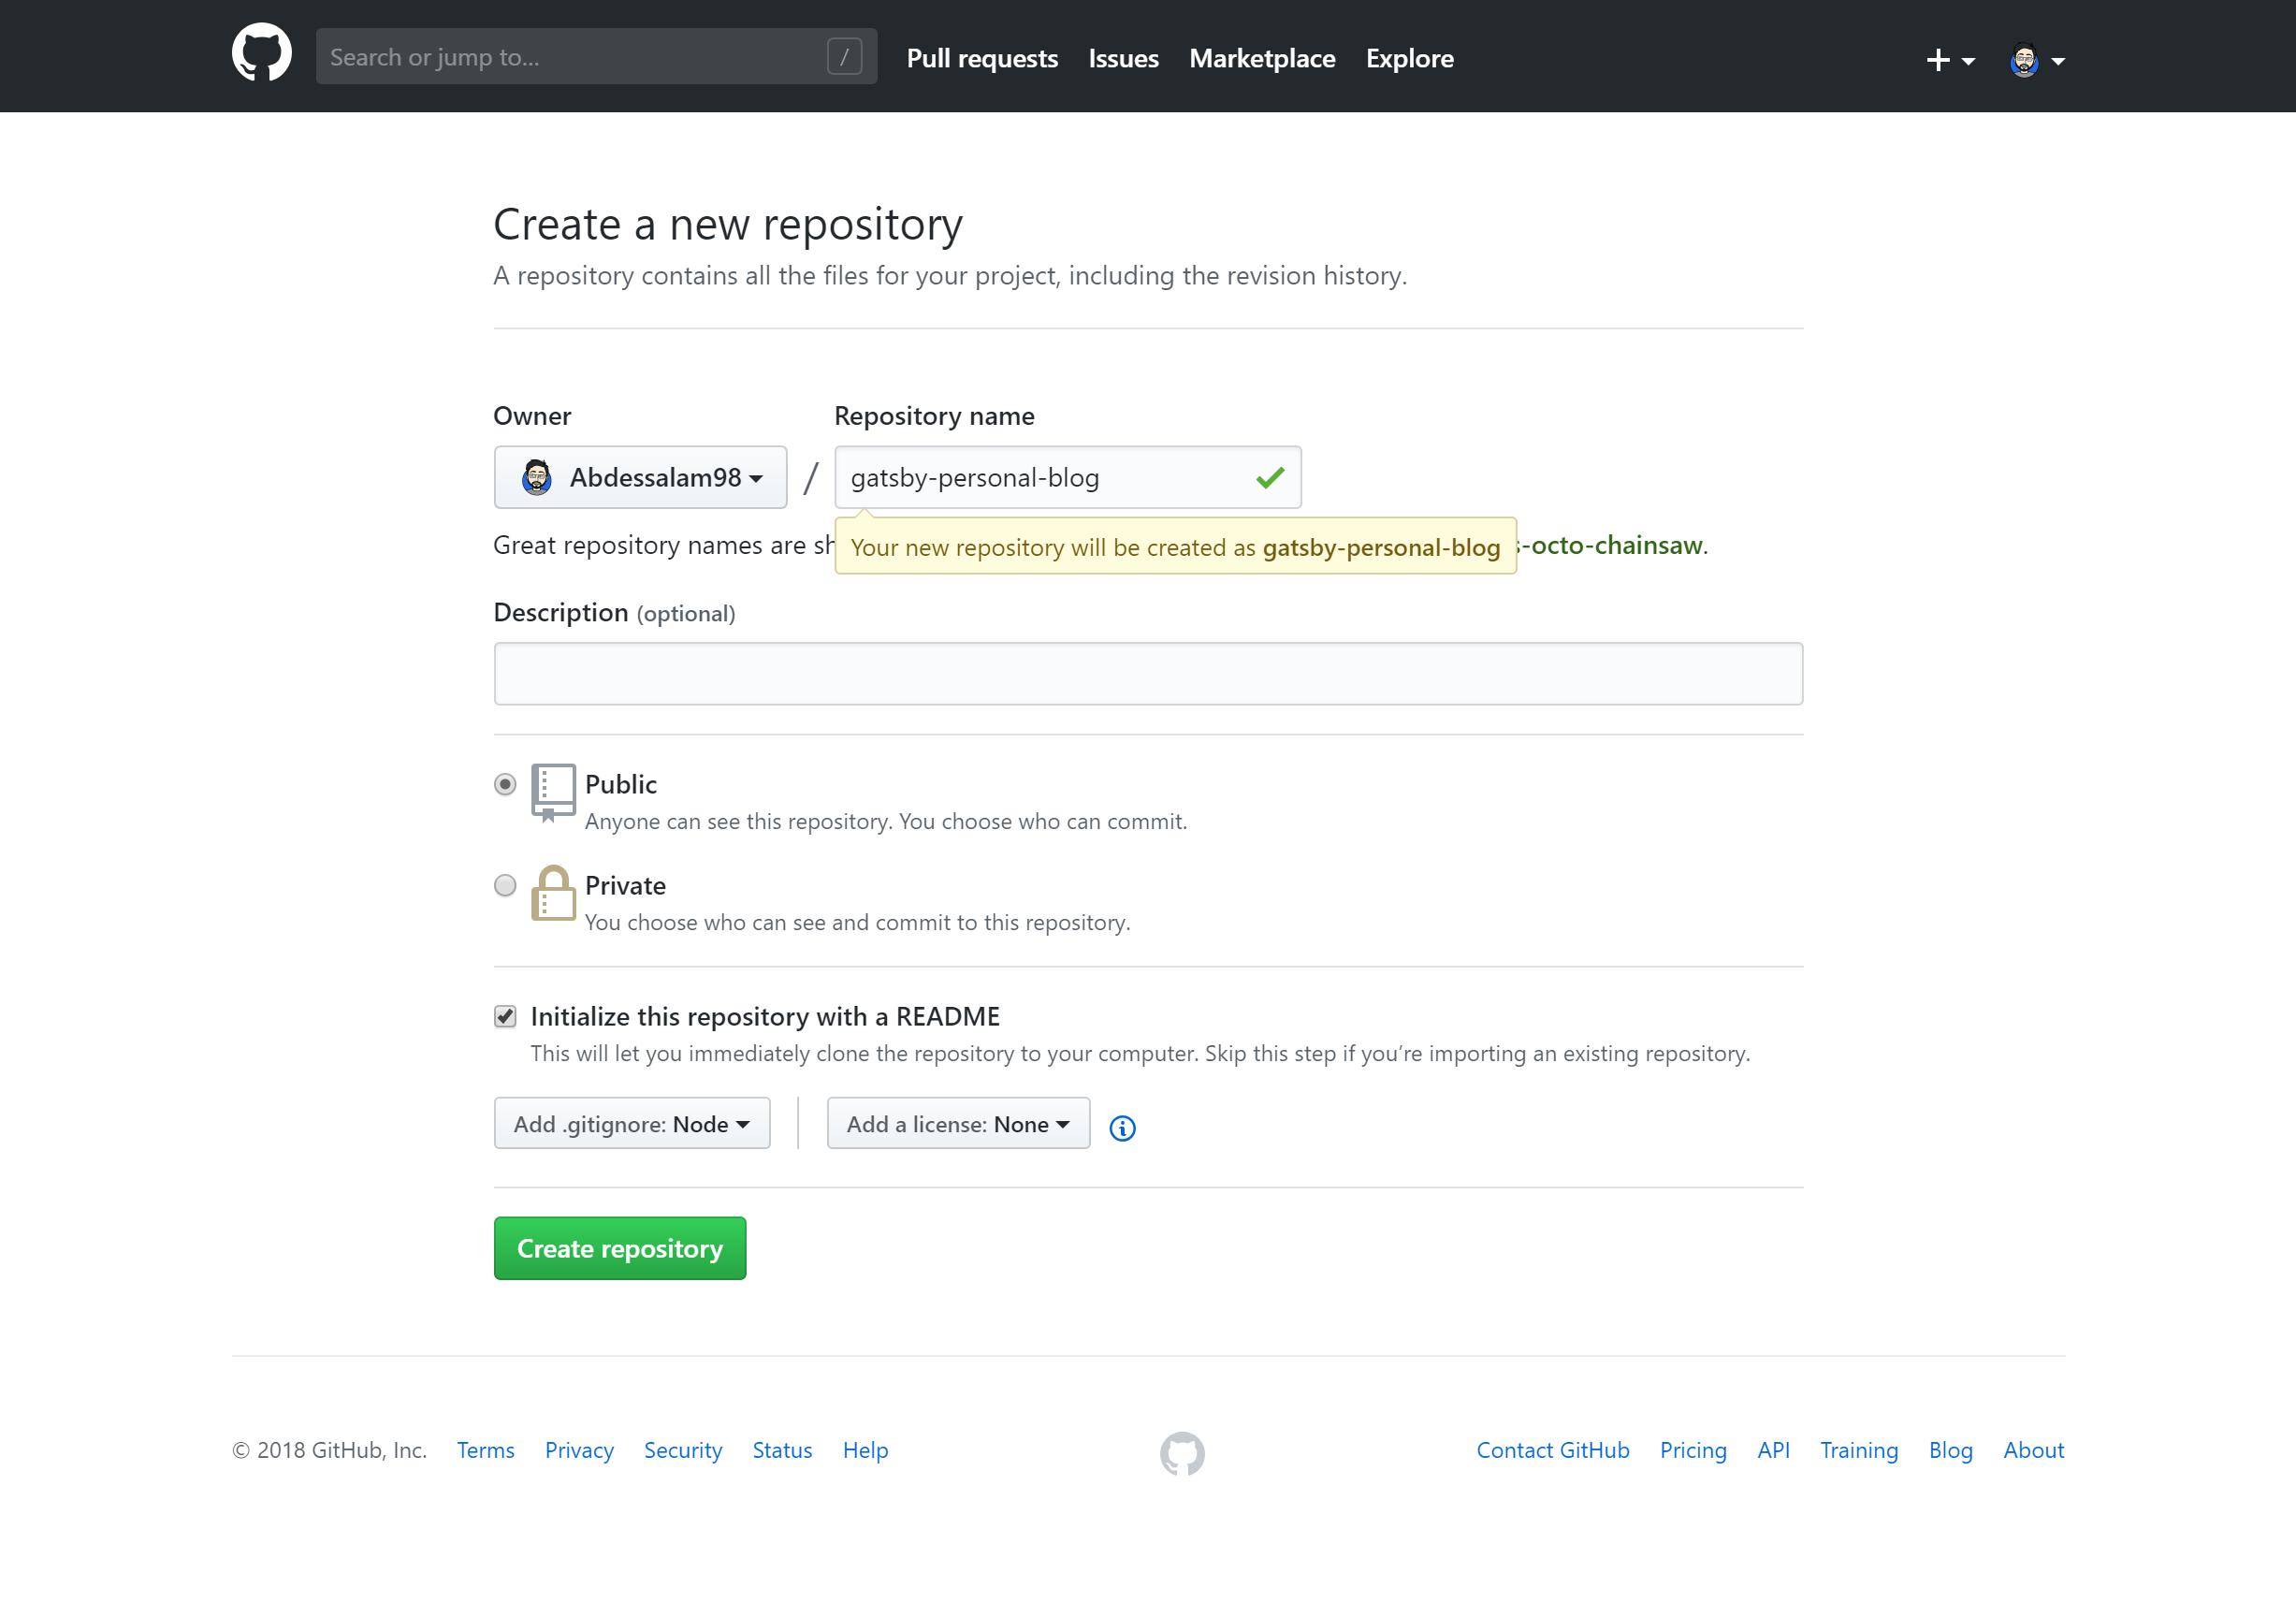
Creating a Git repo
To be able to deploy our project we need to put it on GitHub or Gitlab in order to connect it to Netlify.
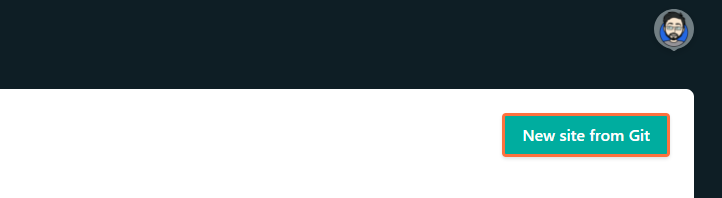
Connect the project to Netlify
After connecting the project to Netlify, all we have to do is to add a new site as shown in the screenshot.
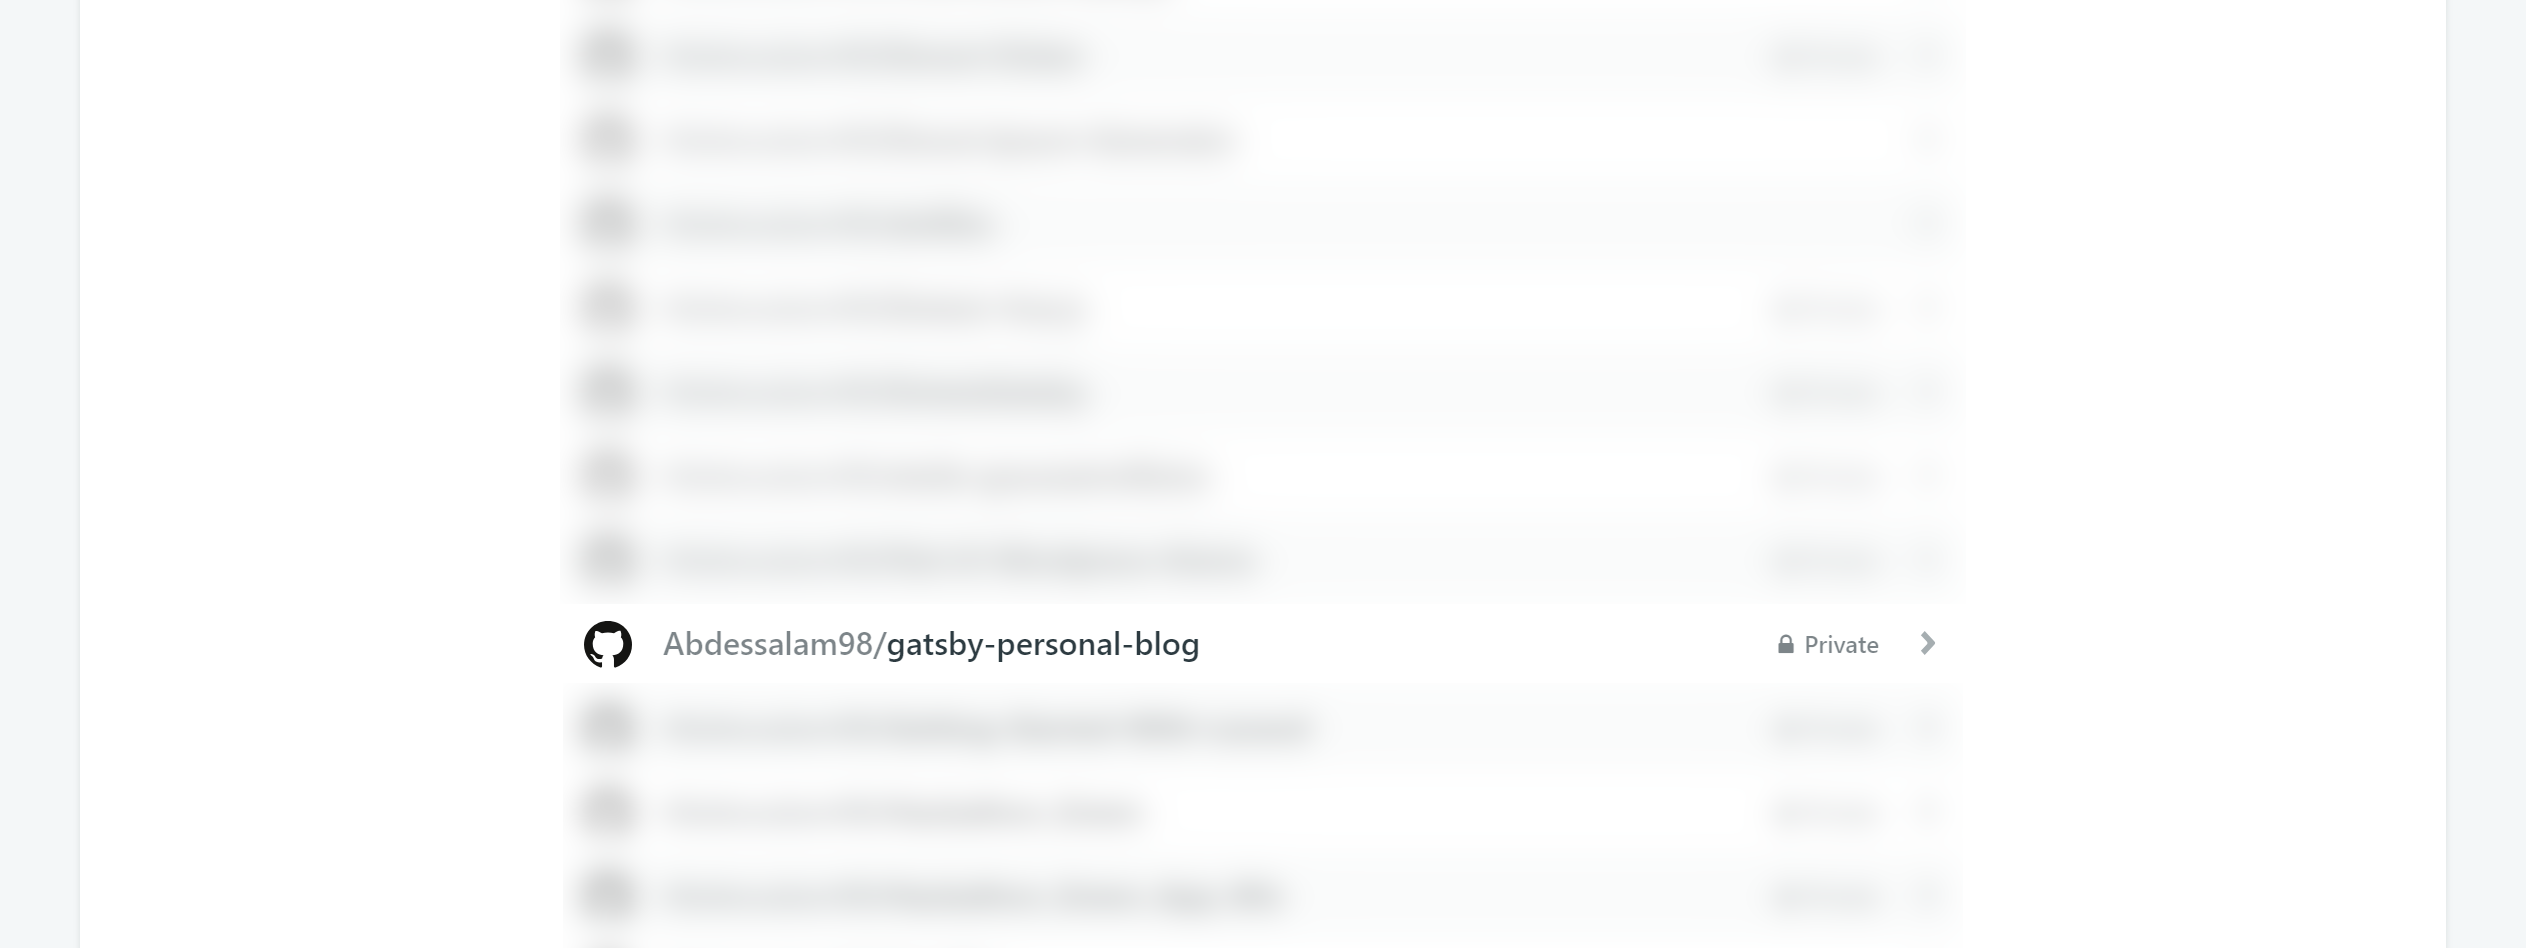
By clicking on this button we are asked to choose the Git Provider, in our case it is GitHub. We then choose from the list the project
We now move on to the configuration of the project
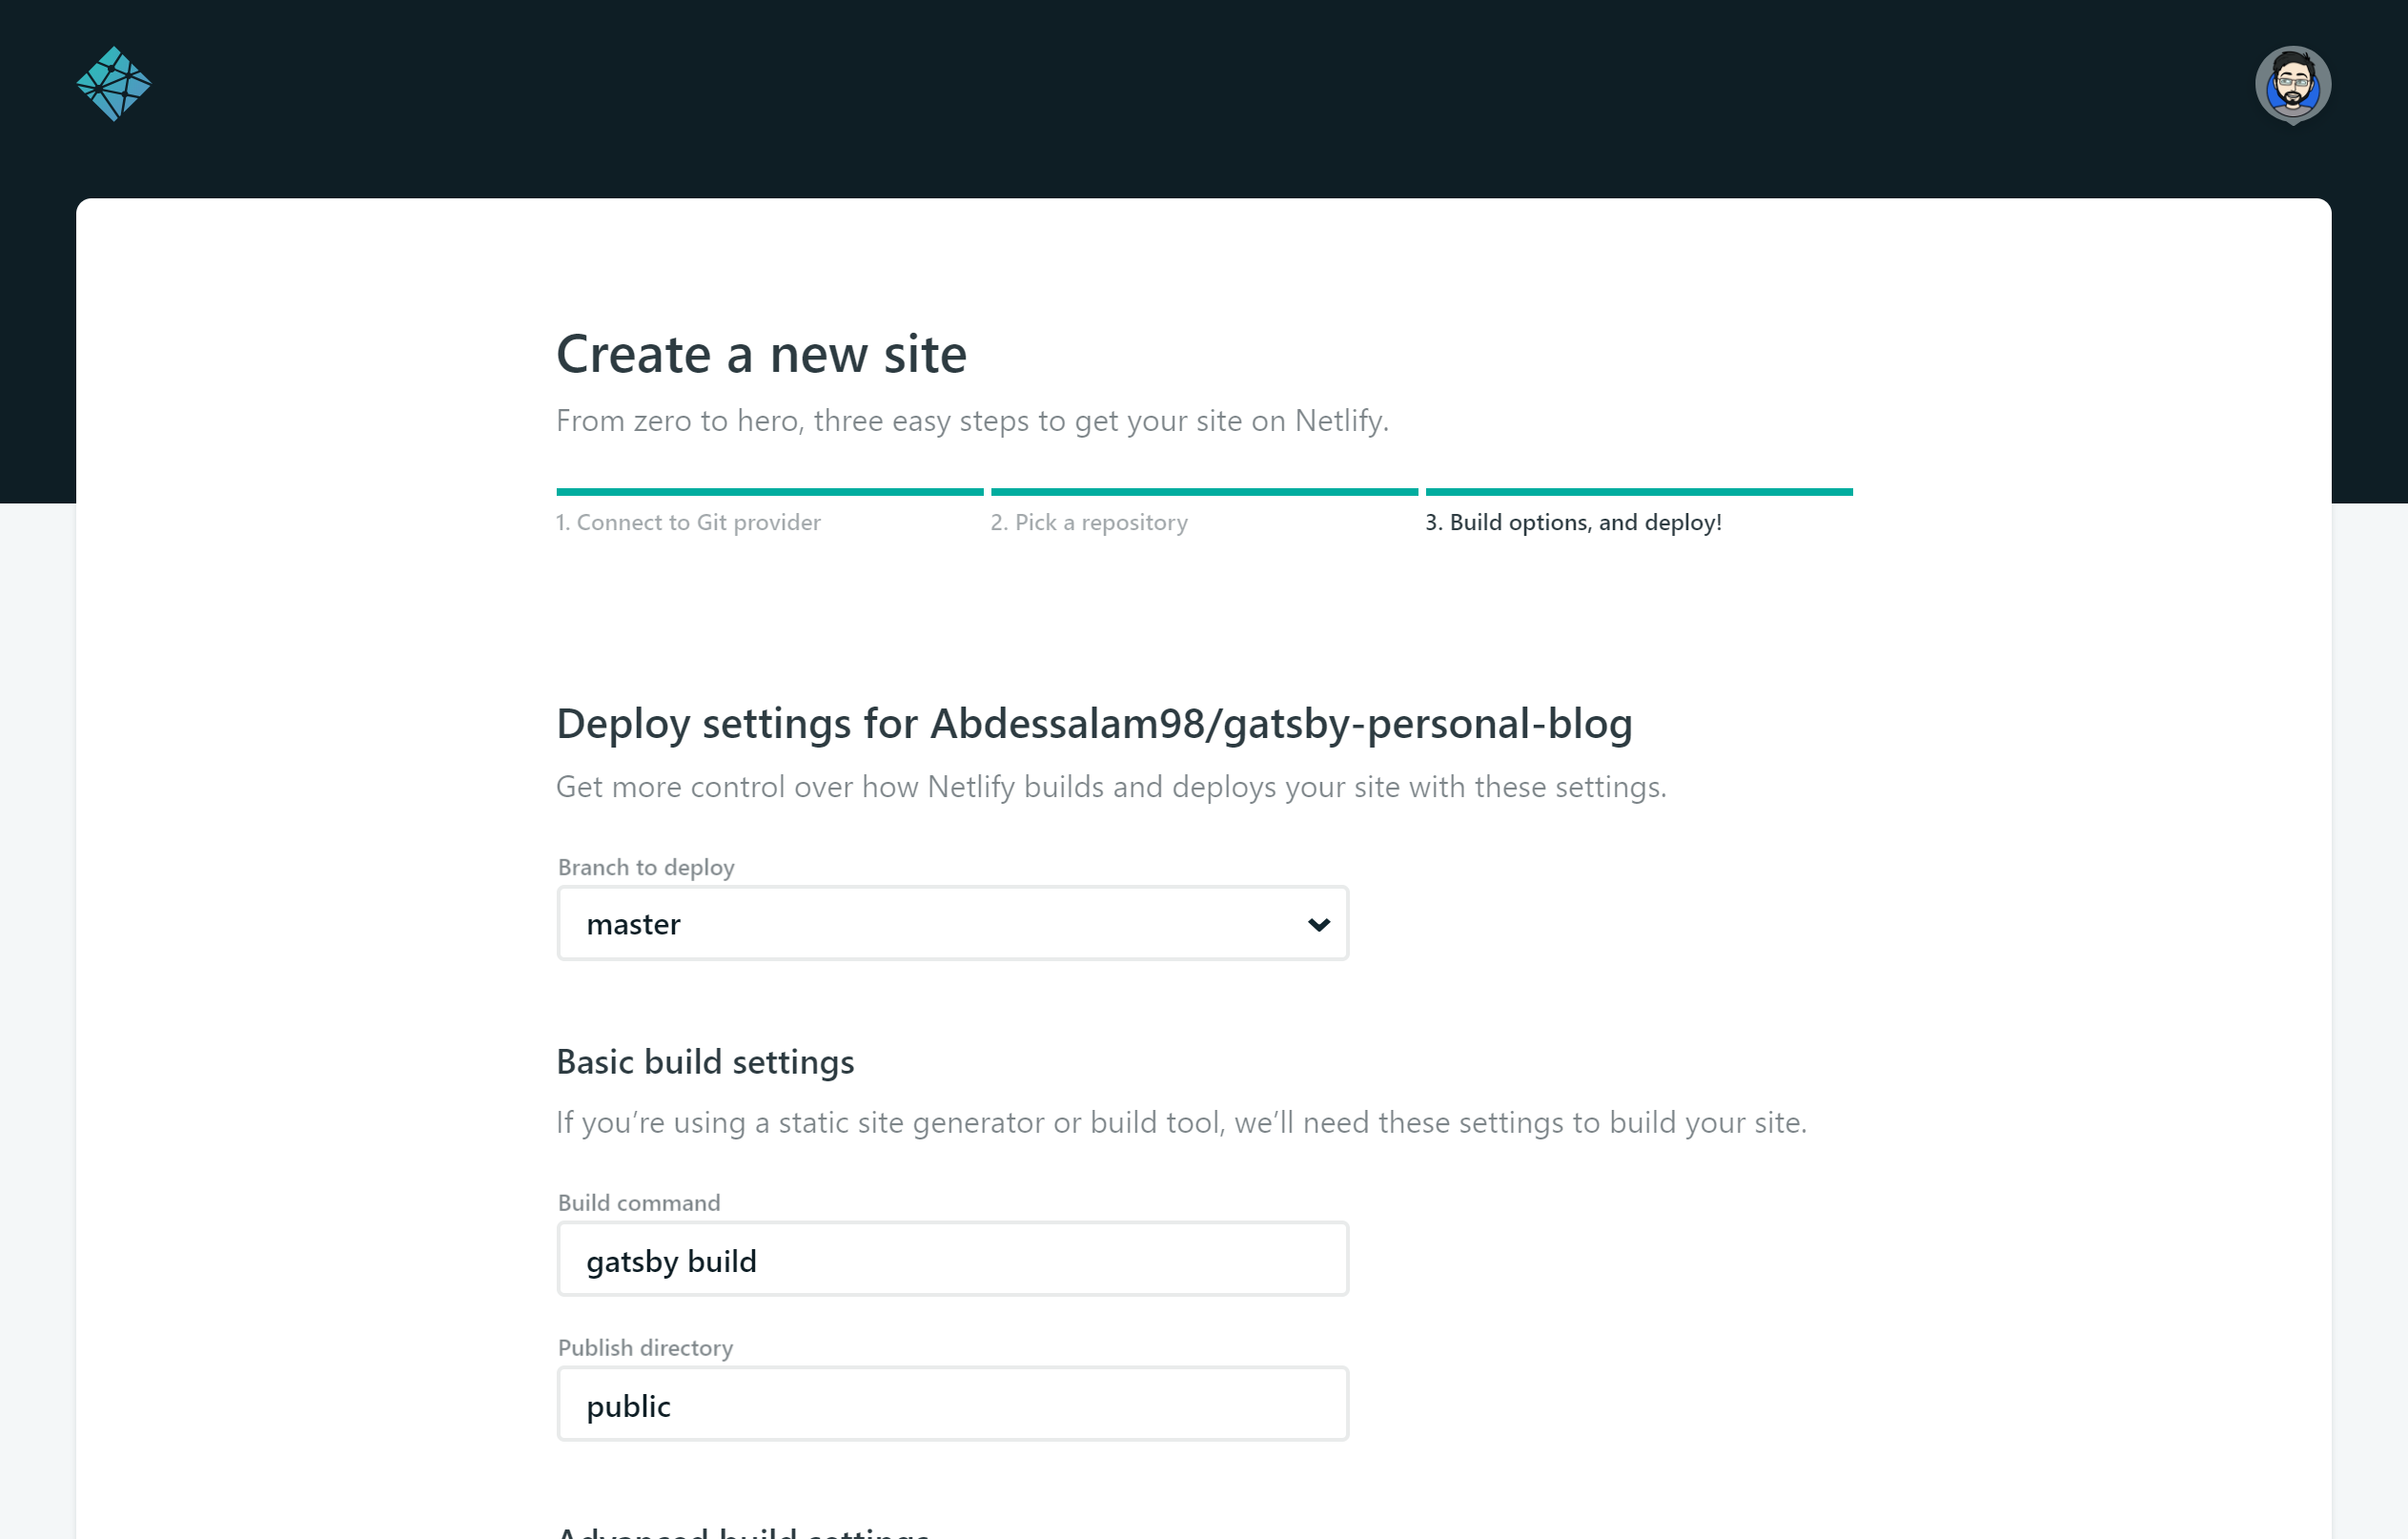
We can now deploy the project!
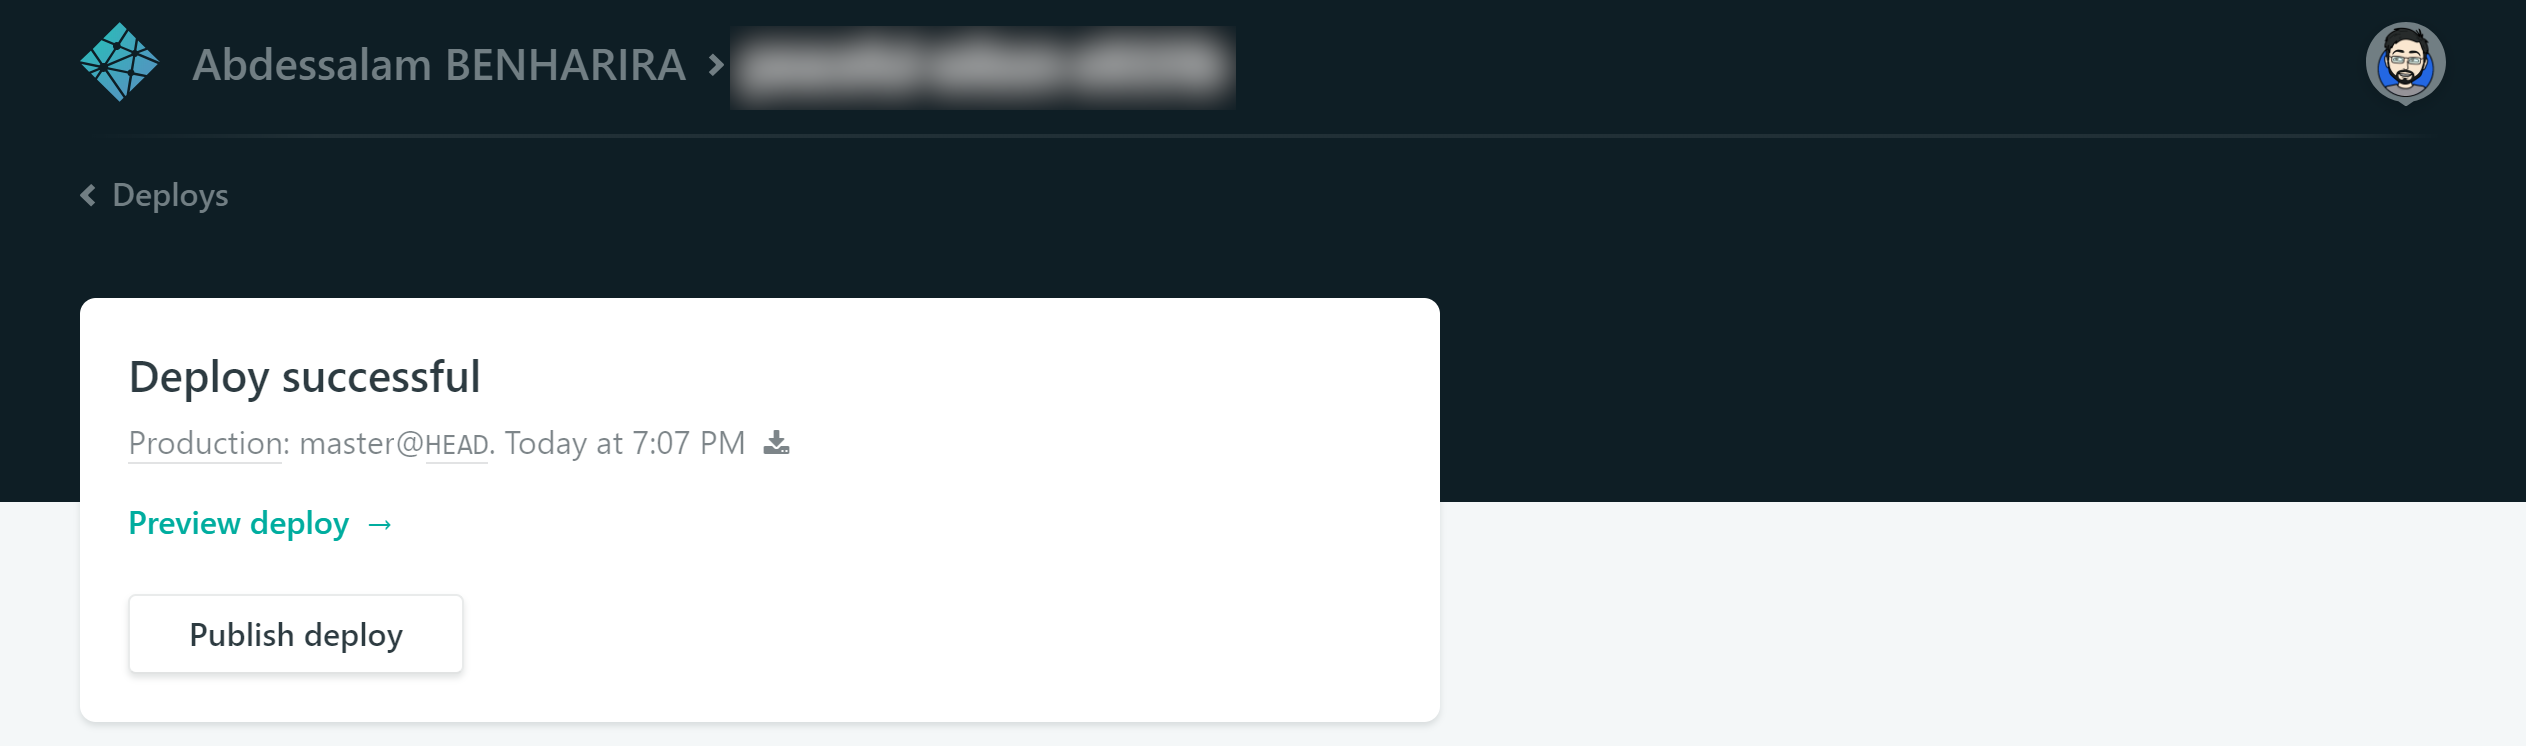
Our site is now online
Auto trigger deploys to Netlify
Basically, if we want to update our site we will have to redeploy the project once again and this becomes a recurring task. Netlify has set up what are called triggers deploy which allow us to redeploy the project at each push/change.

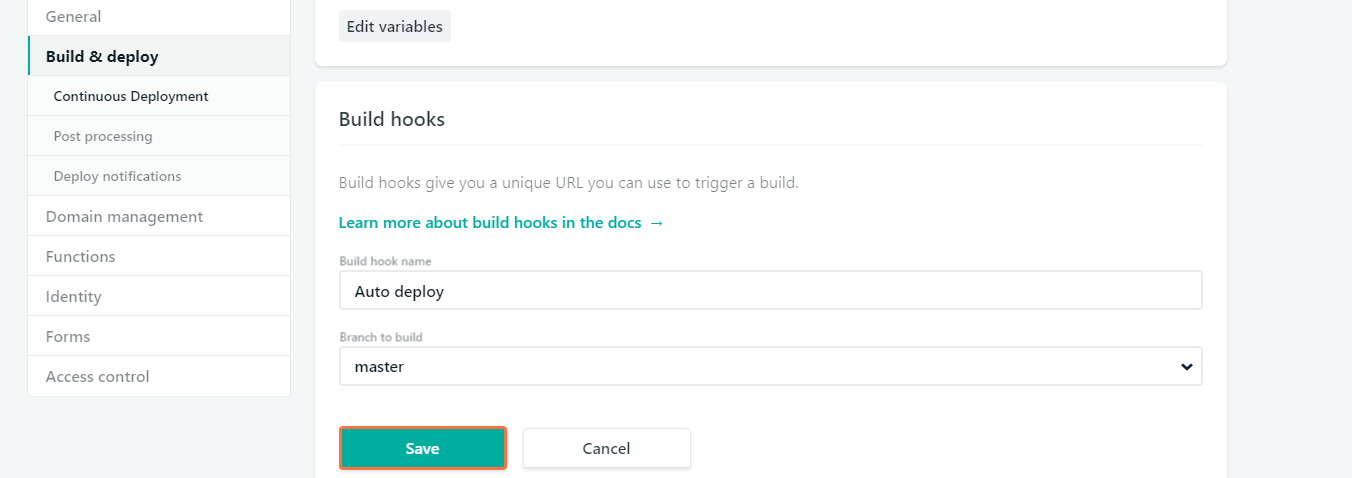
And in order to be able to redeploy the project simply by updating articles we use build hooks. At the creation a link is provided to us, it is by executing a POST request on it that the project is redeployed.
Trigger deploys from the WordPress API
In order to be able to redeploy the project without using Netlify it is necessary to make a POST request on the link provided at the time of adding, editing a post (only if it is published). Here is the piece of code to put in the functions.php file of our theme. Several other WordPress functions exist for this type of case, it’s up to you to see which ones are right for you.
add_action('publish_post', 'post_published_notification', 10, 2);
function post_published_notification() {
  wp_remote_post('https://api.netlify.com/build_hooks/XXXXXXXXXXXXXXX')
}
Before you leave…
Thanks for reading! 😊