Set up CI/CD with GitHub Actions and Netlify
In any application or software development process or lifecycle, we go through several phases. The purpose of these phases is to minimize regressions as much as possible and to guarantee quality code in production, but not only that. These practices are grouped together under what is called CI/CD. We will see how to set up CI/CD with GitHub Actions and Netlify.
What is continuous integration and deployment or CI/CD?
CI for Continuous Integration and CD for Continuous Delivery or Continuous Deployment for which there is a slight difference.
It is a set of practices that allow development teams to deliver code changes more frequently and reliably. It is one of the best practices to be implemented in a project by DevOps teams. It is also a very good practice in agile methodology, since it allows developers to focus on business requirements, quality and security of the code as the deployment steps are automated.
Continuous integration will allow us to build our application continuously. For any application, the developer working on it will necessarily make changes to the source code. Continuous integration must retrieve this source code and prepare a build. Each build also involves compiling and validating this code through code review, unit testing and integration testing, as well as packaging our application.
After the continuous integration, we reach the continuous delivery. Let’s assume that our application has already been tested and is ready for delivery. It will therefore be deployed in production after having carried out the necessary tests using the integration tools. If this step is done manually, it is called continuous delivery, but if it is done automatically, it is called continuous deployment.(https://aws.amazon.com/fr/devops/continuous-delivery)
For more details, I suggest you read What is CI/CD? Continuous Integration & Continuous Delivery, a very interesting article on this subject.
And what about GitHub Actions?
GitHub has recently implemented what we call GitHub Actions, allowing us to better manage and automate our workflows with a fairly complete CI/CD implementation. These actions will allow us to create, test and deploy our code directly from GitHub. We can also assign code revisions, launch tests, manage branches…
GitHub Actions therefore allows us to create customized workflows. These workflows are made up of different tasks called actions that can be executed automatically on specific events (pull, push, cron, webhook…).
https://github.blog/2019-08-08-github-actions-now-supports-ci-cd
The purpose of this post is to see how to set up CI/CD with GitHub Actions and a deployment on Netlify. Throughout this post we will work on a Vue.js application. Other solutions exist, such as CircleCI, Travis CI and many others 😉
Workflow
It is recommended to have at least three environments:
- develop
- staging
- production
Note that for security reasons some branches will have to be protected 😉.
Let’s suppose that on our application we need the build to run properly before sending our code. For the moment we will add an action to allow deployment to Netlify when the build is successful and when it is a pull request to the master.

Repo creation on GitHub
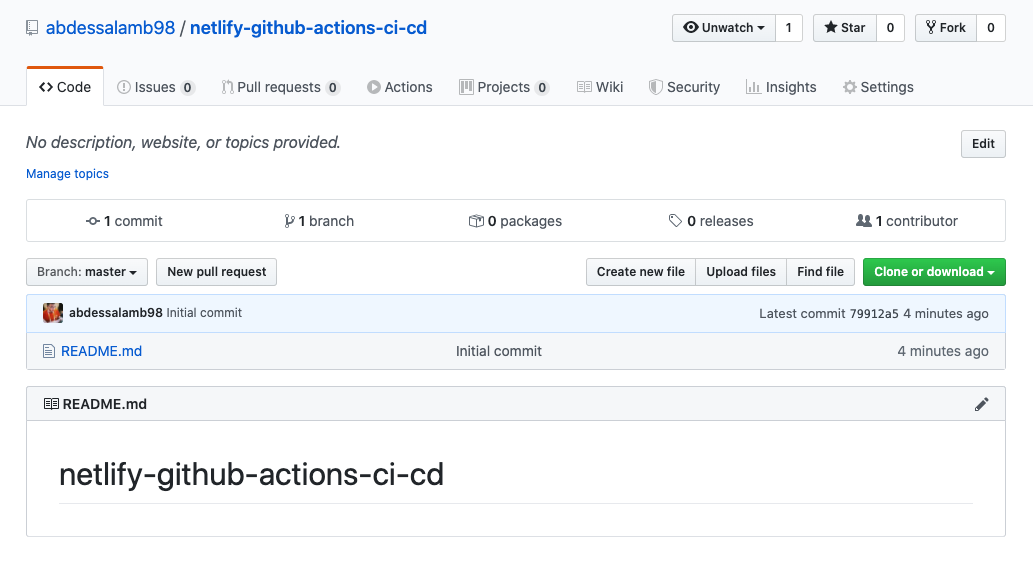
Each created GitHub repo created has an Actions tab.
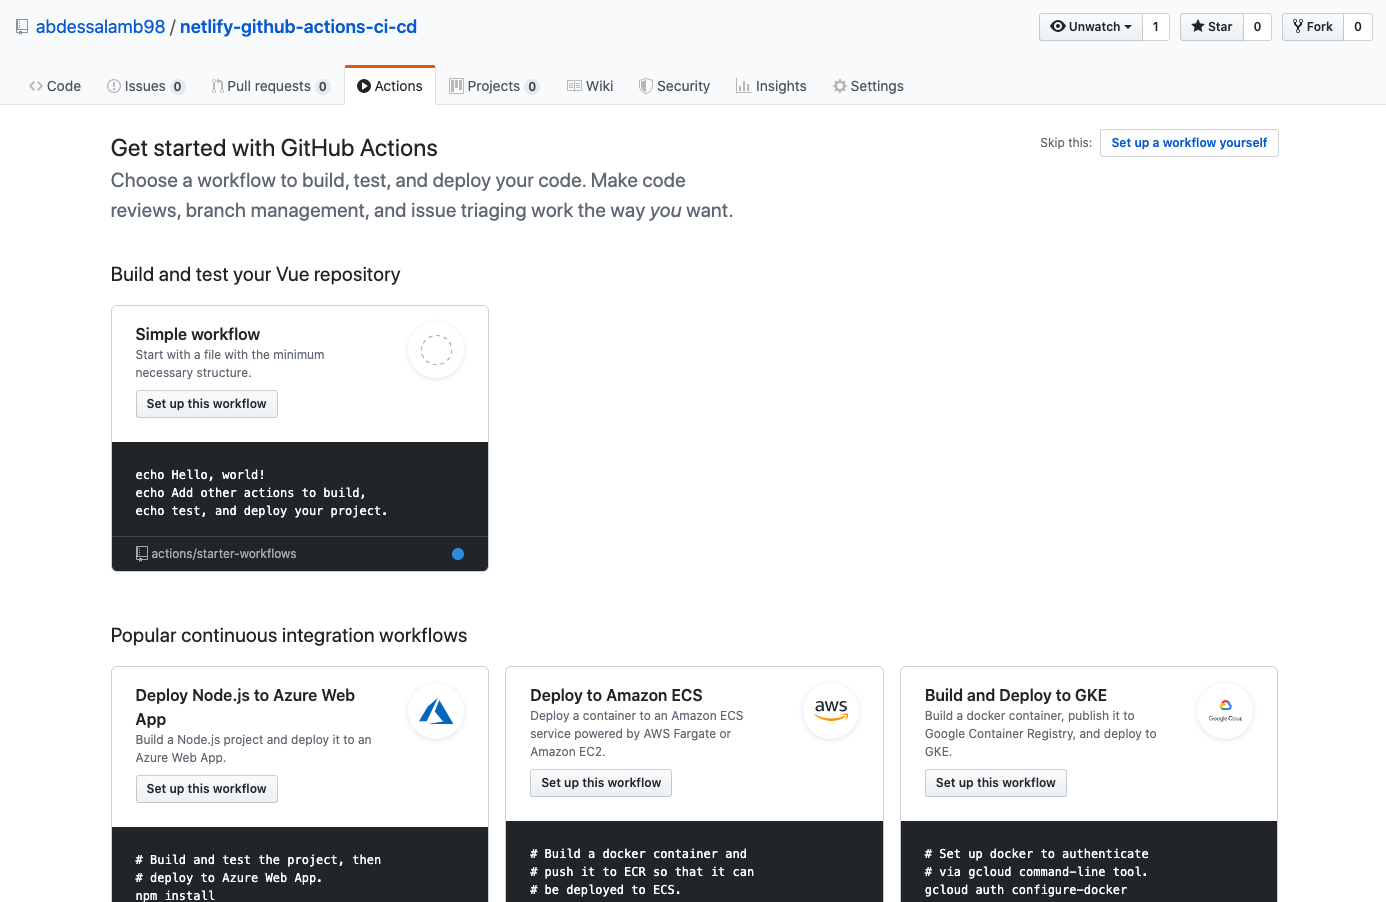
As you can see, GitHub is already recommending some actions. So we will have the choice to do it directly from the interface or simply via our IDE since it is a .yml file.
It is important to know that each workflow requires a .yml file which is used to describe the actions.
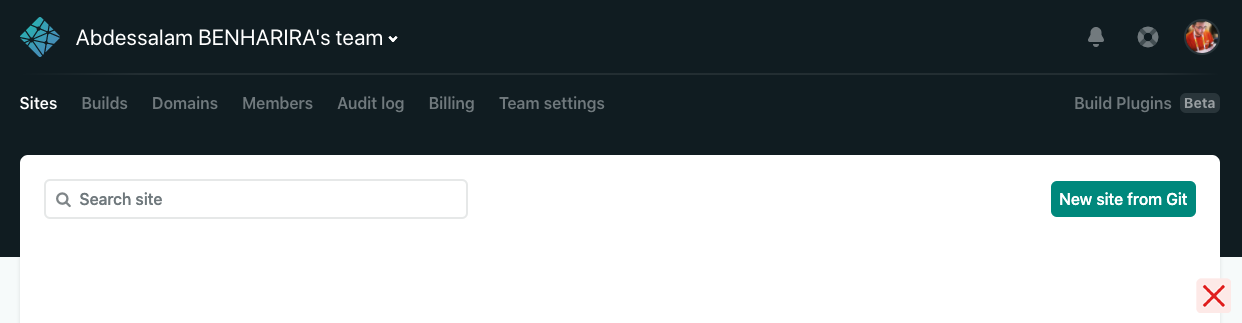
Site creation on Netlify
To be able to deploy our project from GitHub and before setting up our workflow, we need to create a project also on Netlify.
It is very important not to create it from a git repo but to transfer it through drag and drop in order to have more control for our CI/CD rather than what is already done by default with Netlify.
What must not be done
What needs to be done

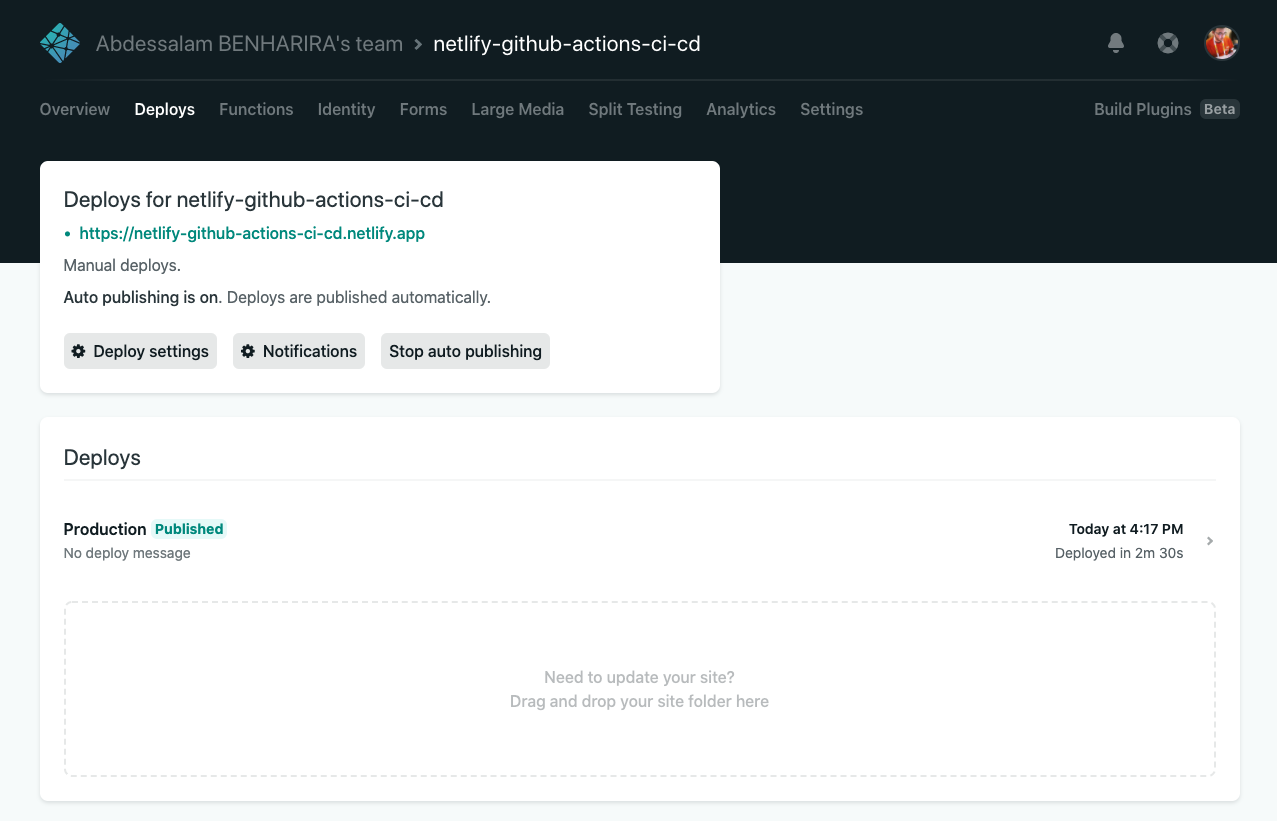
After the drag and drop our project starts to be transferred

Our site is now deployed but does not contain the build of our application, since so far nothing has been informed about it.
Setting up the workflow
We will now set up our workflow.
https://help.github.com/en/actions/configuring-and-managing-workflows/configuring-a-workflow
Create a workflow file
As mentioned above, we will start with three environments and therefore three different branches, develop, staging and master. In this example we will only make sure that when a pull request or a push is made to the master branch, we will ensure the success of the build and why not also of a test command. We will then need two workflow files, one test.yml and the other production.yml to put in .github/workflows.
test.yml
https://gist.github.com/itsabdessalam/0797bde0135e9be1e9579913a4be2755
production.yml
https://gist.github.com/itsabdessalam/dfd8d7a4b1edb549bb5314fc2427fe34
Generate accesses
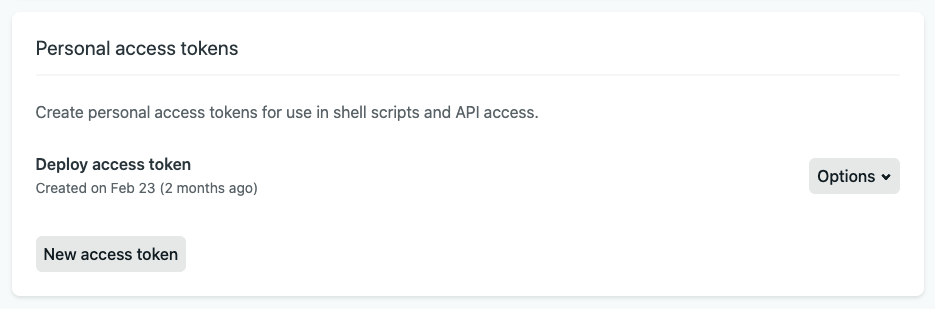
In order to easily deploy our project to Netlify, we will need the token and api id provided by Netlify. This will allow us to push our code via Netlify CLI or by using a ready-made action.
Token
https://app.netlify.com/user/applications#personal-access-tokens
API ID
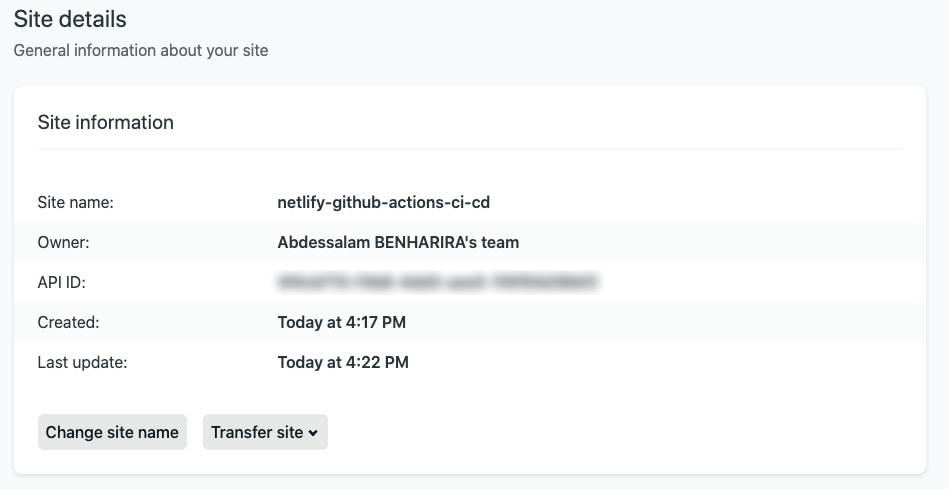
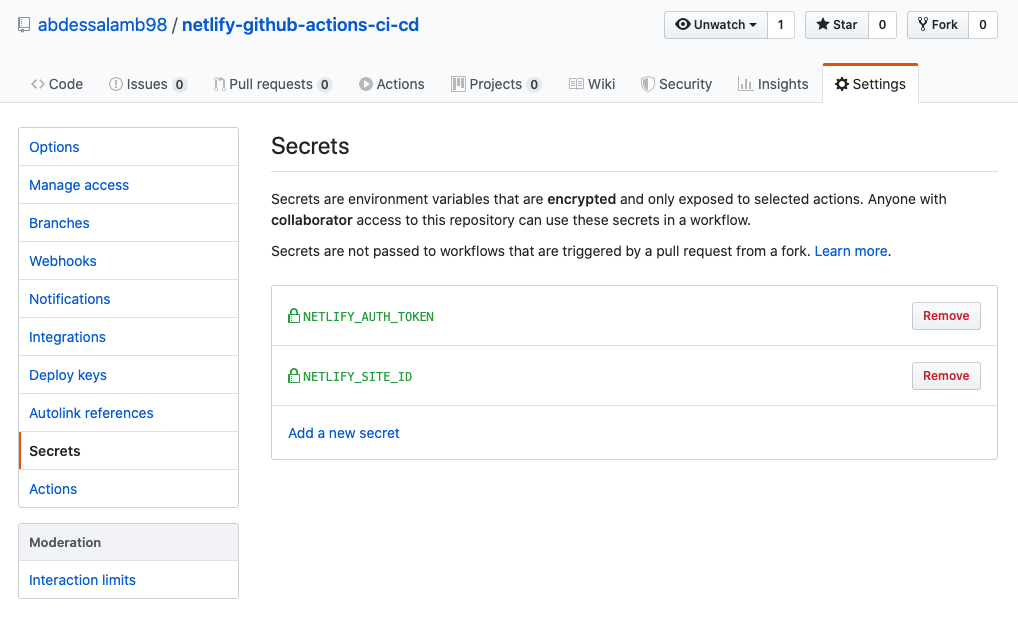
These two elements NETLIFY_AUTH_TOKEN and NETLIFY_SITE_ID will be set as environment variables on GitHub and will be accessible via secrets in the workflow file.
Add environment variables on GitHub
Deployment in action 🚀
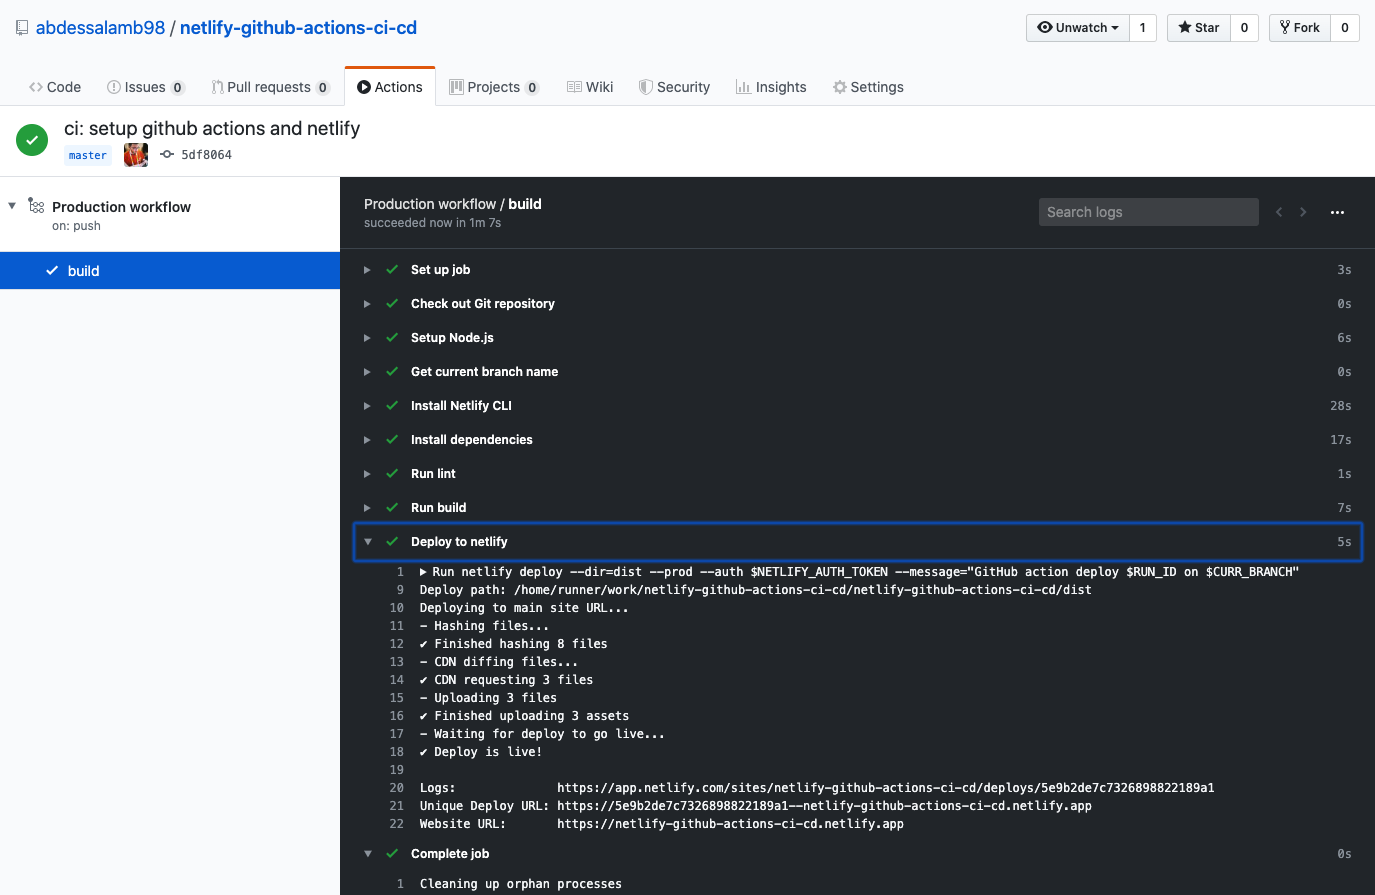
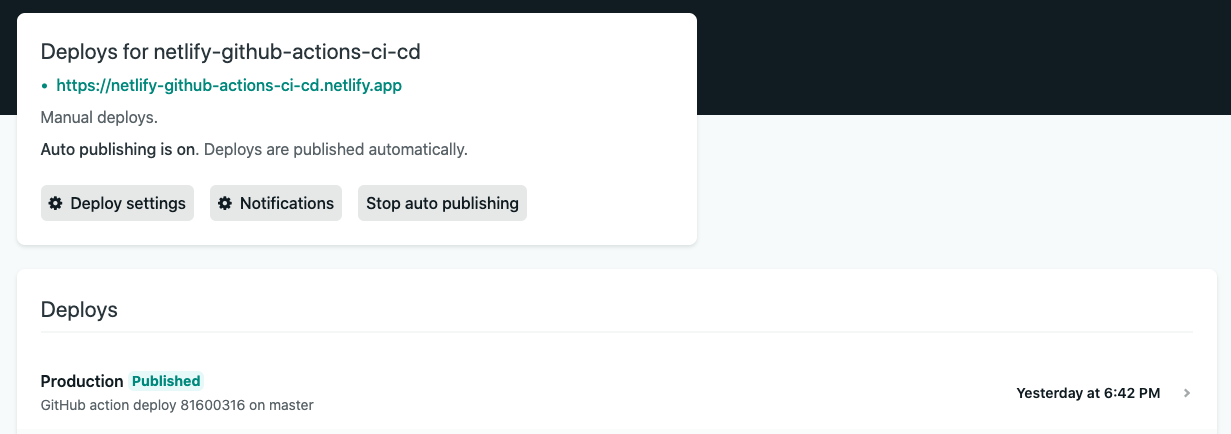
It is recommended to protect its branches. It is assumed that this is already done. The master branch is only supposed to receive pull requests and no direct push for security reasons. When a pull request to the master is triggered, the test workflow is launched, and when a push is triggered in the case of merging our code, the production workflow is launched. Once these two steps have been successfully completed, our application will be deployed on the production server, in our case Netlify.
GitHub Actions build logs
Netlify deployment logs
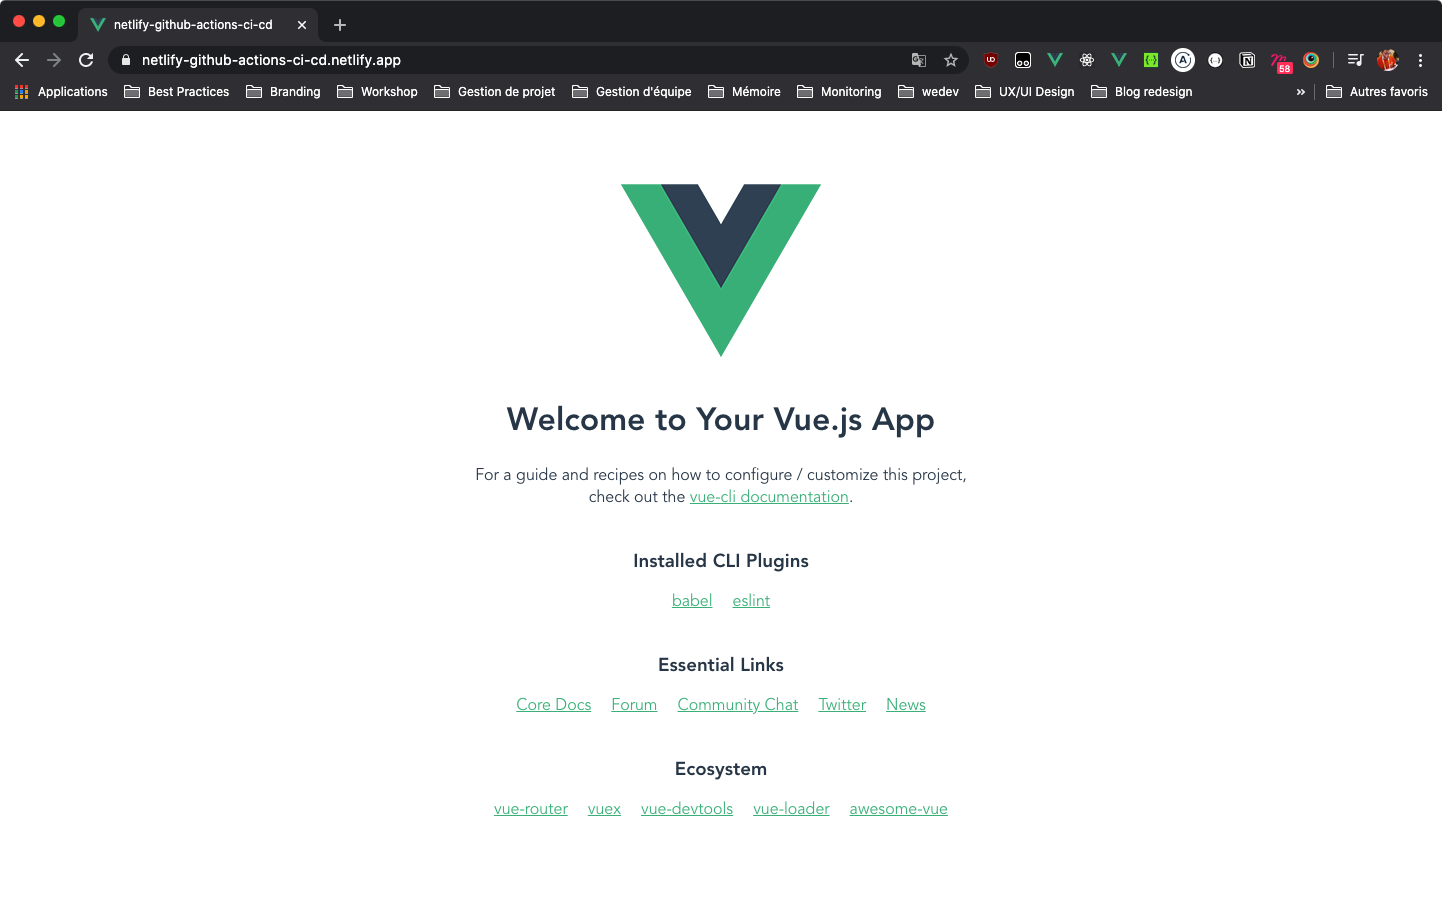
Our application
We can also set up tools to test the quality and security of the code such as SonarQube, Sider…
See also
- https://www.katalon.com/resources-center/blog/ci-cd-introduction
- https://aws.amazon.com/fr/devops/continuous-delivery
- https://github.blog/2019-08-08-github-actions-now-supports-ci-cd
- https://help.github.com/en/actions/configuring-and-managing-workflows/configuring-a-workflow
- https://help.github.com/en/actions/reference/workflow-syntax-for-github-actions
- https://docs.netlify.com/cli/get-started/#installation
I have also made the git repo available here https://github.com/itsabdessalam/netlify-github-actions-ci-cd
Before you leave…
Thanks for reading! 😊